- Stop payments until customers accept your Terms and Privacy Policy (with one simple toggle)
- Quick Summary – Checkout Consent Checkbox Overview
- What’s New (Checkout Consent Checkbox)
- Why This Matters to You (Checkout Consent Checkbox)
- How To Use a Checkout Consent Checkbox in GoHighLevel Store Checkout
- Pro / Quick Tips (Checkout Consent Checkbox)
- What This Means for Your Business (Checkout Consent Checkbox)
- Frequently Asked Questions about Checkout Consent Checkbox
- Conclusion (Checkout Consent Checkbox)
Stop payments until customers accept your Terms and Privacy Policy (with one simple toggle)
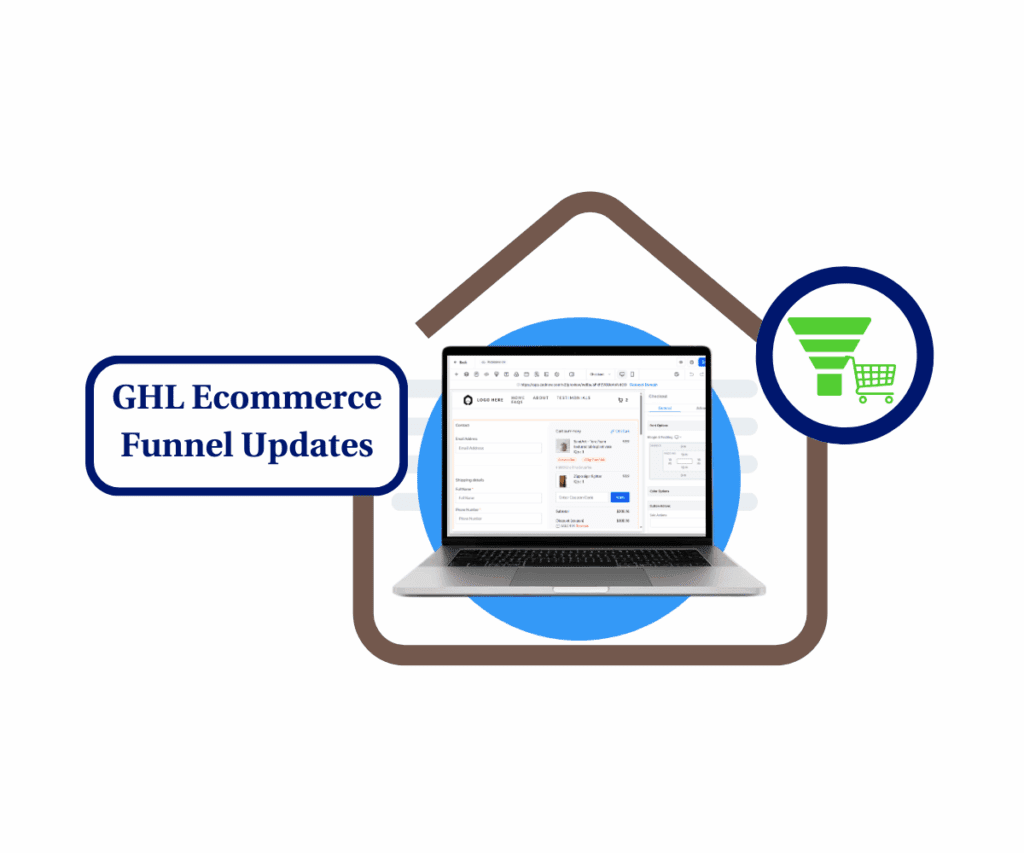
Checkout Consent Checkbox
The checkout consent checkbox is now built into GoHighLevel Store Checkout, so customers must agree to your Terms and Privacy Policy before they can pay.
Before this, your checkout could still work fine, but it left a small gap. A customer could complete a purchase without clearly saying “yes” to your legal pages. That can get messy fast, especially in the EU, UK, or any regulated niche where consent needs to be obvious.
With this update, you can turn the checkbox on inside the Checkout element settings, customize the label text, and add links to your Terms & Conditions and Privacy Policy. The checkbox shows right before the payment button, starts unchecked, and blocks checkout with a clear inline message until the customer accepts.

With the checkout consent checkbox enabled, your GoHighLevel store checkout won’t let anyone pay until they explicitly accept your Terms and Privacy Policy. That means fewer compliance headaches, fewer disputes, and a cleaner final-step checkout experience.
Quick Summary – Checkout Consent Checkbox Overview
Purpose: This guide shows you how to enable a checkout consent checkbox in GoHighLevel Store Checkout so customers must accept your Terms and Privacy Policy before paying.
Why It Matters: This adds a clear consent step right before payment, which helps reduce compliance risk and cuts down on disputes like “I never agreed to that.”
What You Get: You get a required checkbox that is unchecked by default, supports custom text and links, and blocks payment with an inline error until it’s accepted.
Time To Complete: Most users can set this up in about 5 to 10 minutes, including testing on desktop and mobile.
Difficulty Level: This is an easy update since it is a simple toggle inside the Checkout element settings and does not require coding.
Key Outcome: Your checkout becomes more consistent and compliant because every buyer must explicitly consent before completing the purchase.
What’s New (Checkout Consent Checkbox)
You can now add a required Terms & Conditions and Privacy Policy checkbox directly inside your Store Checkout. When it’s turned on, the checkbox is mandatory, and the customer cannot complete payment until they check it.
This is controlled by a simple toggle inside the Checkout element settings. You can edit the checkbox text, and you can add clickable links for both your Terms & Conditions and your Privacy Policy, so customers can review them right there at checkout.
Automate marketing, manage leads, and grow faster with GoHighLevel.

The best part is how it behaves. The checkbox shows up right before the payment button, it starts unchecked by default, and GoHighLevel blocks the checkout with a clear inline error message until the customer gives consent. It works the same on desktop and mobile, so you are not sacrificing usability to stay compliant.
Why This Matters to You (Checkout Consent Checkbox)
This checkout consent checkbox closes a common gap that can cause real problems later. If a customer ever claims they did not agree to your Terms or Privacy Policy, you want a clear and obvious moment in the checkout where they had to accept before paying.
It also keeps your checkout clean and consistent. The checkbox sits right before the payment button, so it is hard to miss, but it does not interrupt the flow earlier than needed. That placement gives customers a fair chance to review your links without adding extra steps or confusion.
For agencies, this is a quiet win. You can standardize a safer checkout setup across client stores, especially for EU, UK, and regulated industries, without custom code or duct-tape fixes. Turn it on, add the right links, test it once, and you have a repeatable checklist item for every store launch.
How To Use a Checkout Consent Checkbox in GoHighLevel Store Checkout
The checkout consent checkbox is added inside the Checkout element on your Store Checkout page. You’ll open your store, edit the Checkout page, turn on Terms and Conditions, and customize the label and links. After that, you’ll publish and test to confirm checkout is blocked until the box is checked.
Here are the steps to add a checkout consent checkbox in GoHighLevel.
- Open the Stores list and select your store.
- Open the Checkout page in the builder.
- Select the Checkout element settings.
- Enable Terms and Conditions and customize the text.
To start make sure you are logged in to your GoHighLevel sub-account.
Step 01 – Open the Stores list and select your store
- The Main Menu on the left side of your screen has all the main areas that you work in when using GHL.
1.1 Click Sites in the left-hand menu.
- This opens the Sites section.
1.2 Click Stores at the top of the Sites area.
- This opens the Stores list.
1.3 Find the store you want to update.
- This is the store that contains the checkout page you will edit.
1.4 Click the store name to open it.
- This loads the store dashboard.

Step 02 – Open the Checkout page in the builder
2.1 Click Pages in the store dashboard.
- This shows the list of store pages.
2.2 Find the page card named Checkout.
- This is the page customers use to enter payment details.
2.3 Click Edit on the Checkout page card.
- This opens the Checkout page inside the builder.

Step 03 – Select the Checkout element settings
3.1 Click the Checkout element on the page canvas.
- This highlights the checkout block you are editing.
3.2 Look at the right-side panel for Checkout settings.
- This is where you will find the Terms and Conditions option.

Step 04 – Enable Terms and Conditions and customize the text
4.1 In the right panel, scroll to Terms and Conditions.
- This expands the Terms and Conditions settings.
4.2 Toggle Enable Terms and Conditions to ON.
- This turns on the mandatory consent checkbox.
4.3 Confirm the checkbox appears near the payment button in the checkout preview.
- It should show at the final step before payment.
4.4 Update the checkbox label text to match your store wording.
- Keep it short so it stays readable on mobile.
4.5 Add or confirm your links for terms and conditions and privacy policy.
- Click each link in preview to confirm it opens the correct page.
4.6 Click Publish in the top-right of the builder.
- Publishing is what makes the change live.

Pro / Quick Tips (Checkout Consent Checkbox)
Keep your checkbox text short and clear. The goal is simple consent, not a legal speech. A clean line like “I agree to the terms & conditions and privacy policy” is usually enough, and it stays readable on mobile.
Use real, public links. If your Terms or Privacy pages are drafts, password-protected, or tied to an internal client portal, people will click and hit a dead end. That can hurt trust right at the payment step. Open the links in preview and make sure they load fast.
Place your strongest policy pages first. Most buyers will not read them, but regulators and dispute teams might. Make sure your Terms page includes refunds, shipping, digital delivery, and support contact info. Make sure your Privacy page explains what data you collect and why.
Do a quick “bad path” test every time you change checkout settings. Try to click Make Payment with the box unchecked and confirm the inline error shows. Then check the box and confirm checkout can proceed. This is the fastest way to catch broken settings before customers do.
Agency tip: standardize it. Create one approved checkbox label and keep a saved set of links for each client brand. Then add “checkout consent checkbox enabled” to your store launch checklist so it never gets missed.
What This Means for Your Business (Checkout Consent Checkbox)
This update makes your checkout safer without making it harder to buy. When customers must accept your Terms and Privacy Policy before payment, you reduce the chance of “I didn’t agree to that” pushback later. It is a small step, but it creates a clear moment of consent right where it matters.
It also builds trust at the final step. A clean checkbox with working links signals that your store is legit and that you take customer data seriously. That matters for new buyers, and it matters even more in regions with stricter privacy expectations.
If you run client stores, this becomes a simple standard you can apply across accounts. Turn it on, set the approved wording, add the correct links, and test it once. From there, it is just part of your normal launch checklist, like verifying taxes, shipping, and payment settings.
Frequently Asked Questions about Checkout Consent Checkbox
Conclusion (Checkout Consent Checkbox)
The checkout consent checkbox is a simple switch, but it fixes a real issue. It makes sure customers accept your Terms and Privacy Policy before they pay, and it does it at the right moment in the checkout flow.
If you run a store, turn it on, add clean links, and test the block once. If you run client stores, make it part of your standard launch checklist so every checkout is consistent and compliant from day one.
Have you enabled the checkout consent checkbox across all your stores yet, or are you only using it for certain niches and regions?
Scale Your Business Today.
Streamline your workflow with GoHighLevel’s powerful tools.