Say Goodbye to Manual Tagging: GoHighLevel Just Made Campaign Contact Tagging After Email Campaigns a Breeze!
Listen up, you awesome GoHighLevel users! You just sent out a killer email campaign, right? Engagement’s popping – opens, clicks, the whole shebang. Now comes the fun part… figuring out who those engaged folks are so you can hit them with the right follow-up. If you’ve been stuck in the slow lane of manually tagging contacts or wrestling with those spaghetti-like workflows just to segment your audience, you know it’s a drag. You need to be quick like a ninja, and knowing exactly who did what in your campaign is pure gold. It lets you get super personal with your messaging and turn those interactions into cold, hard results.
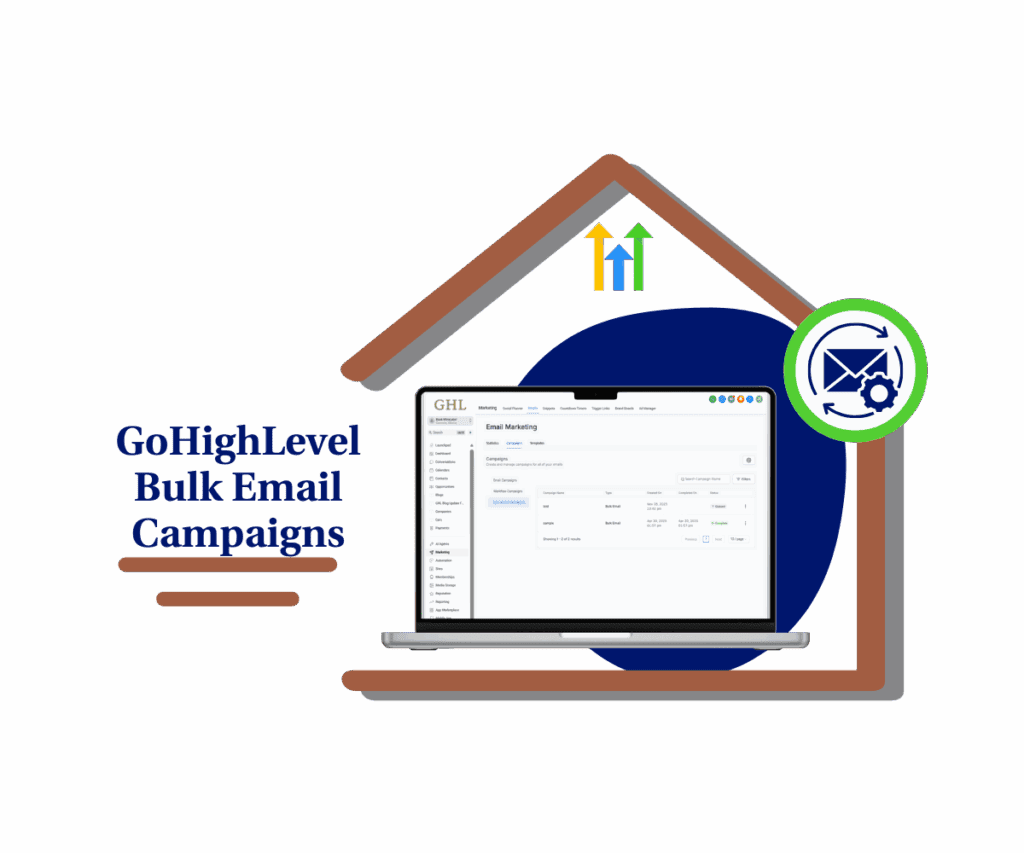
Well, hold onto your hats, because GoHighLevel just unleashed a feature that’s going to make your post-campaign routine smoother than a freshly paved highway. Kiss those clunky workarounds goodbye and say hello to campaign contact tagging straight from your campaign stats page. Yep, you heard that right! No more jumping through hoops or building crazy automations just to see who your hottest leads are. Now, with a few clicks, you can see exactly who opened, who clicked that special link, and tag ‘em on the spot. This means you can go from a general blast to laser-focused follow-up faster than you can say “conversion rate optimization.”

And hold the phone, there’s more! This isn’t just about tagging folks right now. GoHighLevel has also thrown in the power to automatically tag future interactions. Imagine setting it up once and every new open or click gets tagged without you even thinking about it. It’s like putting your segmentation on cruise control, making sure your contact lists are always up-to-date with the latest engagement info. Plus, you can see all this campaign contact tagging magic right there in your campaign statistics, giving you a clear picture of who’s doing what. This update isn’t just a little tweak; it’s a whole new way to connect with your audience.
This new feature lets you instantly tag your most interested contacts right from your campaign results, and even set up automatic tagging for future engagement, leading to more personal and effective follow-up that saves you precious time and seriously boosts your marketing wins.
The Old Way? More Like the Slow Way.
Let’s be honest, trying to segment contacts after an email campaign used to feel like trying to solve a Rubik’s Cube blindfolded. Without campaign contact tagging, you’d have to export lists, set up complicated filters, or build workflows that looked like a toddler’s drawing. It ate up your time and brainpower, and sometimes, those hot leads would cool off before you could even reach out. This delay meant missed opportunities and less effective follow-up. You needed a faster, smarter way to connect with the people who were actually paying attention.
Automate marketing, manage leads, and grow faster with GoHighLevel.

The New Hotness: Direct Tagging Power!
Now, GoHighLevel has handed you the keys to a segmentation dream machine. This new feature lets you tag contacts based on exactly how they interacted with your email. Did they open it? Boom, tag ‘em. Did they click that link to your special offer? Bam, tag ‘em again! You can even tag based on multiple interactions for some serious fine-tuning. And the best part? You can see all the tagged contacts and a log of your campaign contact tagging activity right within the campaign stats. It’s all there, easy to see and easy to use.
Why This Rocks for Your Business:
- Instant Win: Tagging in real-time means you can follow up immediately with the most engaged leads. No more waiting or losing track.
- Set It and Forget It Automation: The auto-tagging feature is a game-changer for efficiency. Set it up once, and let GoHighLevel handle the tagging of future interactions.
- Everything in One Place: See who’s tagged and when, right in your campaign stats. No more jumping between different sections to get the full picture.
- Supercharge Your Targeting: Applying multiple tags lets you create highly specific audience segments for even more personalized and effective marketing.
How to Tag Like a Pro (It’s Easier Than Making Toast!)
Alright, let’s break down how to use this awesome new feature step-by-step. We’re going to show you how to tag those hot leads directly from your email campaign stats in GoHighLevel. Trust us, it’s so simple, you’ll wonder why it wasn’t always this way!
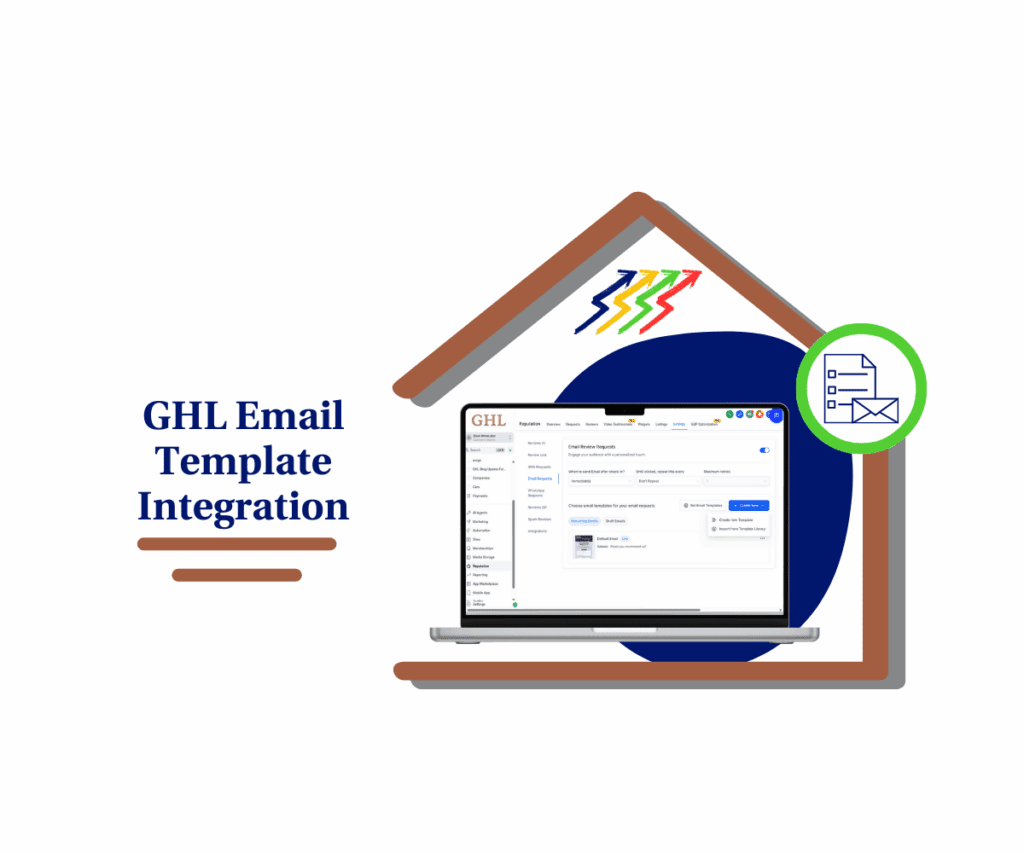
This new magic happens right inside your regular email campaign reporting. You know, where you check who’s opening and clicking your amazing emails. Now, this familiar spot has gotten a serious upgrade. We’ll walk you through finding those key interactions, applying tags instantly, and even setting up auto-tagging for all future action. Get ready to see how easy it is to turn campaign data into super-targeted contact lists using campaign contact tagging.
Step 01 – Access the Main Left Hand Menu in GoHighLevel
- The Main Menu on the Left side of your screen has all the main areas that you work in when using GHL
1.1. Click on the ‘Marketing’ Menu Item.
- Access the ‘Marketing’ section of GoHighLevel
- You’ll now be in the ‘Marketing’ section of GHL, where you can access the ‘Email Campaigns’ section from the top menu:
1.2. Click on the ‘Email’ menu link.

Step 02 – Open the Campaigns Page
- This will take you to the overview of your email campaigns.
2.1. Click on the ‘Campaigns’ tab within the ‘Email Marketing’ page.
- This will display a list of all your email campaigns.

Step 03 – Open the Statistics for a Sent Email Campaign
- To see who interacted with your past emails, you need to open the statistics for a specific campaign.
3.1. Find the sent email campaign you want to analyze and click on the three-dot icon on the right side of the campaign listing.
- Make sure it is a campaign that has already been sent out.
3.2. Select ‘Statistics’ from the menu.
3.3. After clicking ‘Statistics’, a summary of the statistics will appear on the right side of your screen. Look for and click the ‘Load more Statistics’ button.
- This button will load a more comprehensive view of your campaign’s performance data.


Step 04 – Add Tags to Contacts
- On the statistics page, you can see different types of interactions with your email.
4.1. Scroll down and look for the ‘Details’ section. This section has tabs like ‘Opened’, ‘Clicked’, and other relevant actions.
4.2. Click the checkbox next to each contact’s name to select them.
- You can select one, multiple, or all contacts in a section.
4.3. Click the ‘Add Tags’ button that appears above the list of selected contacts.
- A pop-up window will appear.
- In the pop-up window, you can select existing tags or create new ones.
4.4. You will see a list of your existing tags. Click on the tags you want to apply to the selected contacts.
- If you want to create a new tag:
- Type the name of the new tag in the search bar that appears after clicking the tags field.
- Click the name of the tag with a ‘+’ symbol that appears in the dropdown to create the new tag.
- The new tag will now be available to select.
- You can select multiple tags to apply to the contacts. Choose the tags that best describe the contacts’ engagement.
4.5. Add a short description for the action.
4.6.Enable automatic tagging for future interactions
- When this is turned on, any new contact who interacts with the campaign will be tagged automatically.
- Note: This only works if you selected all the listed contacts.
4.7. Click the “Add Tags” button to finish.


Keeping Tabs on Your Tags
You can easily see who has which tags by going to the “Contacts” section in your GoHighLevel account. You can even filter your contacts by the tags you’ve created. Plus, all the manual tagging you do is logged under “Bulk Actions” in your account settings, so you can always see what you’ve done. Just remember, the automatic future tagging won’t show up in Bulk Actions, but you’ll see those tags on the individual contact profiles as they engage. That’s the beauty of campaign contact tagging—everything’s organized and ready when you are.
Real-World Win
Imagine you send out a promo email for a new product. Using this new feature, you can instantly tag everyone who clicked the link to learn more as “Interested – New Product.” Then, you can create a smart list of everyone with that tag and send them a follow-up email with a special discount code. This targeted approach is way more effective than sending a generic follow-up to everyone who just opened the email. That’s the power of smart campaign contact tagging.
Conclusion: Smarter Segmentation, Better Results.
This new direct campaign contact tagging feature in GoHighLevel is a serious game-changer for anyone who wants to get more out of their email marketing. It simplifies the process of segmenting your most engaged leads, allowing for more personalized and timely follow-up. With the added bonus of auto-tagging for future interactions, you can set up smart campaign contact tagging that works for you around the clock. So, ditch the manual headaches and start tagging smarter, not harder. Go give it a spin and watch your engagement – and your results – soar!
Scale Your Business Today.
Streamline your workflow with GoHighLevel’s powerful tools.