Finally! Make Your Courses Accessible to Everyone
Are you ready to unlock a whole new level of engagement and accessibility for your GoHighLevel courses? Want to reach a wider audience, including those with hearing impairments and non-native speakers? Well, listen up, because the team here at GHL Growth Garage has some seriously exciting news for you: GoHighLevel has just rolled out a brand-spankin’ new “Subtitles Support” feature for Memberships!
This isn’t just a small update. This is a huge win for your online courses. You can now add subtitles to your videos, making it easier for everyone to follow along. With inclusivity being a bigger focus these days, this feature is right on time.
With Subtitles Support, GoHighLevel users can build courses that are not only more engaging but also more inclusive and effective—helping boost student satisfaction and grow your business.
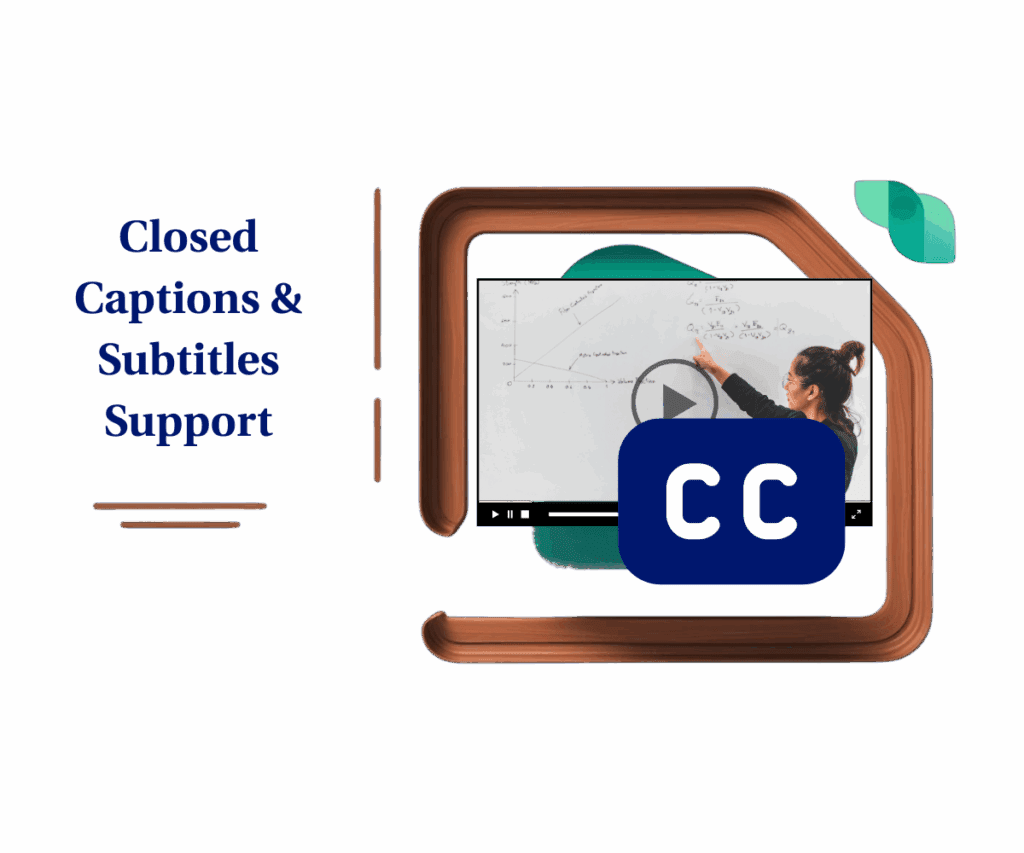
How to Use GoHighLevel’s New Subtitles Support
Alright, let’s dive into how you can actually use this awesome new Subtitles Support feature in GoHighLevel. This update is all about making your Membership courses more accessible, so we’re going to walk you through the steps of adding those all-important subtitles to your videos. Whether you’re a seasoned GHL pro or just starting out, you’ll find this process straightforward and easy to follow.
The Subtitles feature is integrated directly into the Memberships area of GoHighLevel, where you manage your online courses. In the steps below, we’ll show you exactly where to find the subtitle settings, how to upload your subtitle files, and how to fine-tune them to perfection. Get ready to make your courses more inclusive and engaging for all your students!
Follow these simple steps to start using Subtitles Support today:
Step 01: Go to the Memberships Page
Automate marketing, manage leads, and grow faster with GoHighLevel.
1.1 Log in to your GoHighLevel account, then click on the “Memberships” tab in the left-hand menu. This is where all your online course magic begins.

Step 02: Access the Courses page
2.1 Click on the “Courses” tab.
2.2 Select “Products” to see your list of courses and training materials.

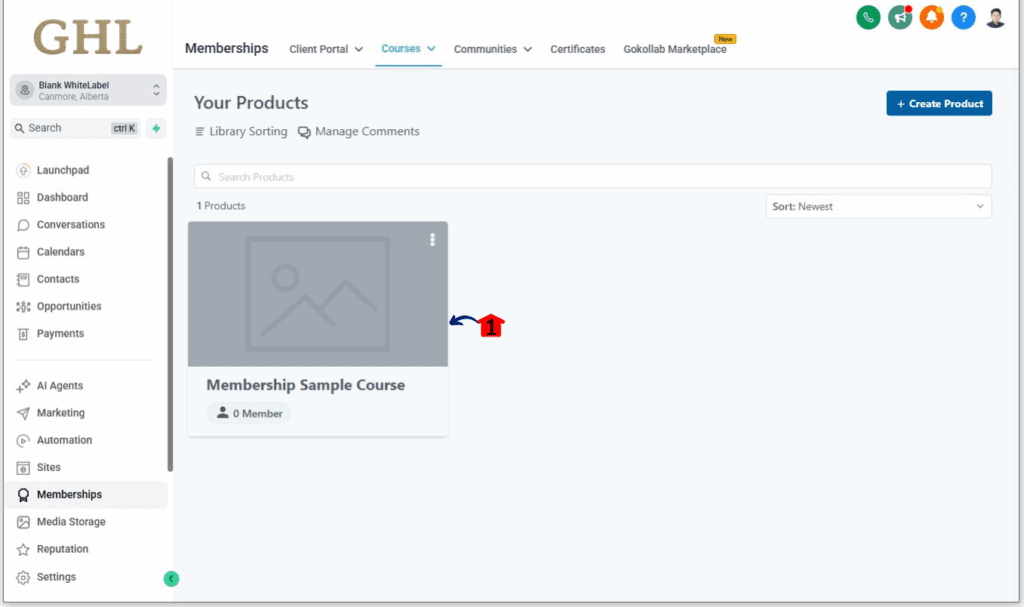
Step 03: Select a Course
3.1 Find and click on the Course you want to update. This opens up all the modules and lessons inside that course.
Step 04: Open the Module
4.1 Choose the module where you want to add a video with subtitles. You’ll be able to upload your video and manage its settings from here.

Step 05: Upload your video
5.1 Click the “Upload Video” button and choose the file you want to add. Give it a moment to finish uploading—don’t move on just yet. Nobody wants to deal with a half-loaded lesson.


Step 06: Add the subtitles
6.1 Click the “CC” logo to open the subtitle settings.
6.2 Click to upload or drag your subtitle file into the upload area.
6.3 Make sure you’re using a .srt file—that’s the common format most platforms use.
6.4 Select the language your subtitles are written in. You can upload multiple subtitle files if you’re supporting more than one language.

Step 07: Use the Advanced Subtitle Editor (If Needed)
7.1 Need to tweak the timing or fix a typo? Click again the CC icon to edit a subtitle.
7.2 Click the edit icon to start editing.
7.3 Find the part of the subtitle you need to edit. Scroll to see the other parts. Don’t forget to save your changes after editing.


Step 08: Save and Publish
8.1 Click “Save” on the updated module to make the new subtitles available to your students.
Note: If the subtitles don’t appear in the video, try clicking the CC icon in the video player.

Pro Tips to Make Subtitles Work for You
Want to make the most of the new Subtitles Support feature? Here are some simple tips to help you level up your course content:
- Get the Format Right
When you’re creating your subtitle files, double-check the timing and keep the text short and clear. Tools like Aegisub or Subtitle Edit make this part easier and more accurate. - Use Subtitles to Boost Engagement
Subtitles aren’t just about accessibility. A lot of people actually prefer watching videos with subtitles—especially in noisy environments or when they’re trying to learn something new and complex. - Give Your SEO a Lift
Subtitles can help with search rankings too. Search engines can’t watch your videos, but they can read the text from your subtitle files. That extra text can give your content a little SEO edge.
What This Means for Your Business
Let’s get real for a minute—this feature isn’t just a nice extra. It can have a real impact on your business:
- Reach More People
Subtitles make it easier to reach people who speak different languages, expanding your audience and making your content more accessible. - Make Students Happier
Better understanding leads to better learning. When students can follow along more easily, they’re more satisfied—and more likely to leave great reviews or refer others. - Lead the Way in Inclusivity
Including subtitles demonstrates your commitment to accessibility. It shows you’re ahead of the game and dedicated to providing a more inclusive learning experience for all.
Conclusion
The additional subtitle functionality GoHighLevel provides is not just an improvement; it fundamentally transforms your ability to make courses articulately clear, inclusively engaging, and generally more impactful.
Simply follow the outlined instructions in this guide and utilize the tips provided, and you will easily develop content that resonates with your intended audience.
It is now your turn. Which ways will you implement subtitles into your courses? We are eager to know how you plan to incorporate subtitles into your courses so share your ideas in the comments!
Scale Your Business Today.
Streamline your workflow with GoHighLevel’s powerful tools.
