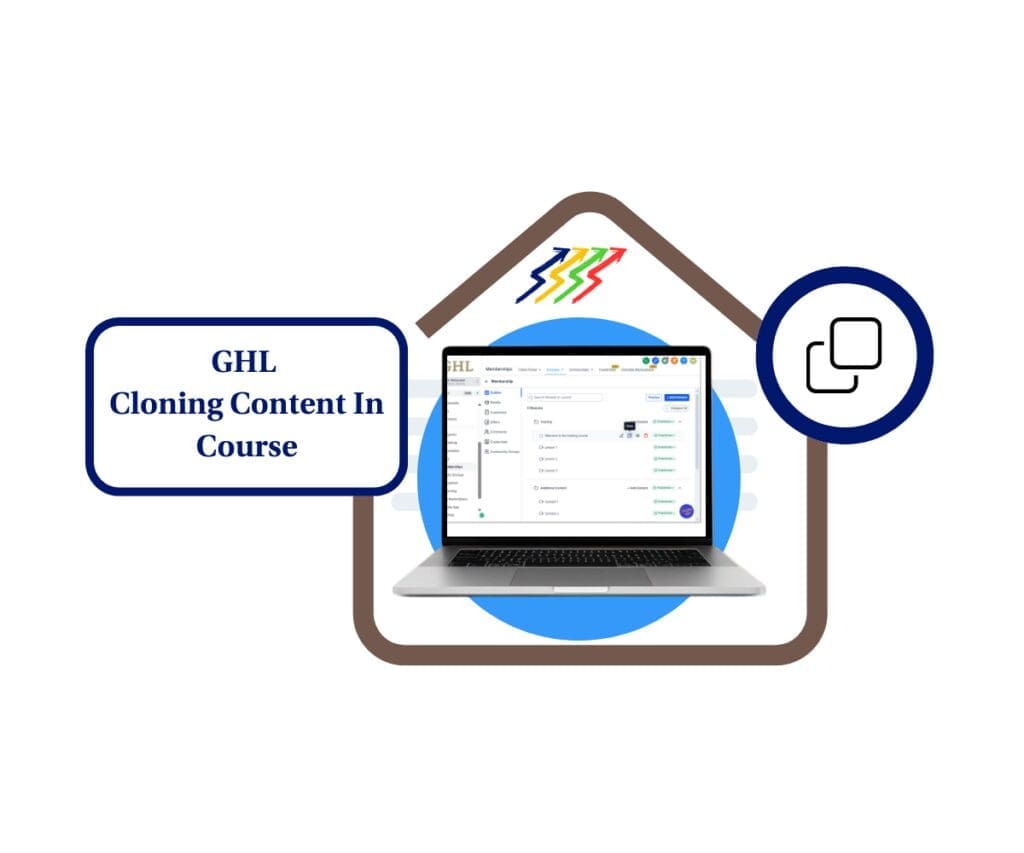
Forget Separate Platforms Keep Your People Connected and Engaged Within Your GoHighLevel Hub
Look, you’re in the business of building something real, right? And what’s more real than a solid connection with the folks you’re serving? We all know that keeping people engaged and feeling like they’re part of something cool is key to sticking around and becoming true fans. That’s why this new thing GoHighLevel just dropped a community engagement platform, called Communities, is kind of a big deal. It’s all about making it dead simple to build your own online hangout spot, totally integrated with everything else you’re doing in GHL. Think about it – no more bouncing your people all over the internet to different groups and platforms.

GoHighLevel Communities lets you build seriously strong connections and skyrocket engagement by giving you an easy-to-use, all-in-one place for your audience to connect, learn, and support each other, right inside your GoHighLevel account – making things simpler for everyone and boosting your retention big time.
Quick Mini-Guide: Creating Your First Community in GoHighLevel
Alright, let’s break down how to get your own GoHighLevel Community rocking, in plain English, the Marketing Jack way. Forget the tech jargon – this is about getting your people connected without pulling your hair out.
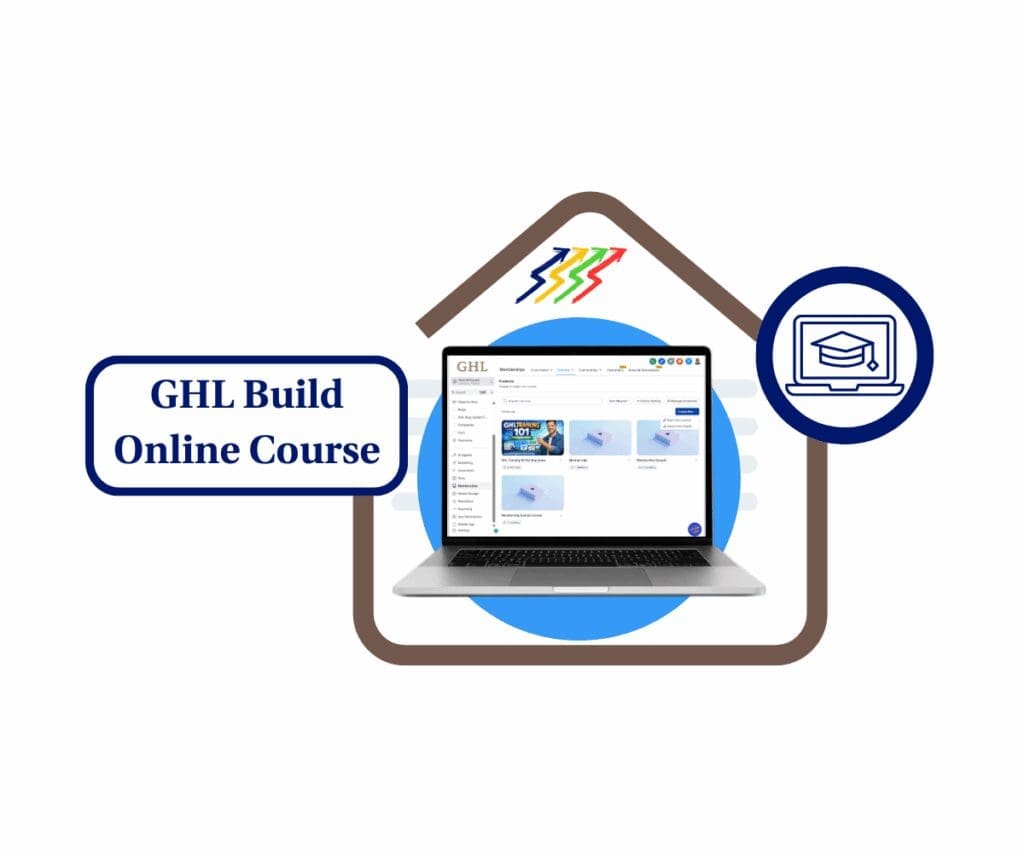
This whole Communities thing lives inside your Memberships tab in GoHighLevel, which you probably already know like the back of your hand. Think of it as your new virtual clubhouse where you call the shots on who gets in and what goes down.
How to Create a Community
Automate marketing, manage leads, and grow faster with GoHighLevel.

Step 1.0 – Access the Main Left Hand Menu in GoHighLevel
- The Main Menu on the Left side of your screen has all the main areas that you work in when using GHL
1.1 Click on the ‘Membership’ Menu Item.
- Access the ‘Membership’ section of GoHighLevel
- You’ll now be in the ‘Membership’ section of GHL, where you can access the Communities section from the top menu:
1.2 Hover over the Communities tab.
1.3 Click on the ‘Groups’ menu link.
1.4 Click the Create a Community button
- This button is located on the bottom part of the ‘Groups’ dashboard.

Step 2.0 – Enter Group Details
- You’ll now be on the Create Group screen. This is where you’ll enter key information.
2.1 Type the name of your group.
2.2 Customize the group slug (this becomes your URL).
2.3 Enter a short description of your community or group.

Step 3.0 – Brand Your Community
- Scroll down to the Branding section—located right below the Details section.
3.1 Upload a favicon (the small icon that appears in the browser tab).
3.2 Add a cover image for your community page.
3.3 Upload your group logo.
3.4 Click the Create Group button to continue.

Step 4.0 – Set Community Password
- Once the group is created, a window called ‘My Portal’ will appear.
4.1 Set the password for your community.
4.2 Retype the password to confirm it.
4.3 Click the Set Password button.

Step 5.0 – Explore the Community Dashboard
- You’ll now be taken to your newly created community dashboard.
5.1 Get familiar with how the dashboard looks and where things are located.

How to Configure the Community’s settings
Step 1.0 – Open Settings from Your Profile
- Settings can be accessed from the community profile panel on the right side.
1.1 Click the Settings button to begin setup.

Step 2.0 – Update Your Configuration
- A settings popup will appear showing all the available tabs.
2.1 Fill out more information in the Details tab.
2.2 Set subscription features for your community.
2.3 Add or update branding assets.
2.4 Choose and set your group’s theme.
2.5 (Optional) Add membership questions.
2.6 Set up gamification and rewards.
2.7 Add any promotional links you want to share.
2.8 Use the content reporting tab to manage flagged content.
2.9 Import Skool Group Members and their Content.
2.10 Set how this community is discoverable from active GHL users.
2.11 Click the Save button to finalize settings.

How to invite members
Step 1.0 – Use the Invite Members Button
- You’ll find this option inside your community profile section.
1.1 Click the Invite Members button to get started.

Step 2.0 – Configure the Invitation Settings
- A new popup will appear where you can choose how to invite people.
2.1 Copy your group’s invite link to share it publicly or via email/social.
2.2 Alternatively, manually enter the person’s name.
2.3 Enter their email address.
2.4 Click the Send Invite button to add them to your group.

How to create a post
Step 1.0 – Start a New Post
- Use this feature to engage your community with updates, questions, or content.
1.1 Click “What’s on your mind” under the options tab.

Step 2.0 – Add Your Post Details
- A popup will appear for you to complete your post.
2.1 Write the title of your post.
2.2 Add your main message or details.
2.3 Upload a media file if needed (image/video).
2.4 Choose the channel where the post will appear.
2.5 Click the Publish Post button to share it.

Ready to Connect? Your Go-Ahead to Build Your Community
So, there you have it! GoHighLevel Communities isn’t just some fancy new button; it’s your chance to really connect with your people, build that loyal following, and create a buzzing hub right inside the GHL platform you’re already crushing it with. Seriously, by following those simple steps, you can get your own community up and running and start seeing the magic of real engagement happen.
Ready to say goodbye to scattered conversations and bring your whole tribe together in one awesome spot? Jump into your GoHighLevel account today and see what Communities can do for you. We’re stoked to see the amazing connections you’re gonna make!
Hey, what are some cool ways you’re thinking of using GoHighLevel Communities to connect with your audience? Drop a comment below and let’s swap some ideas!
Scale Your Business Today.
Streamline your workflow with GoHighLevel’s powerful tools.