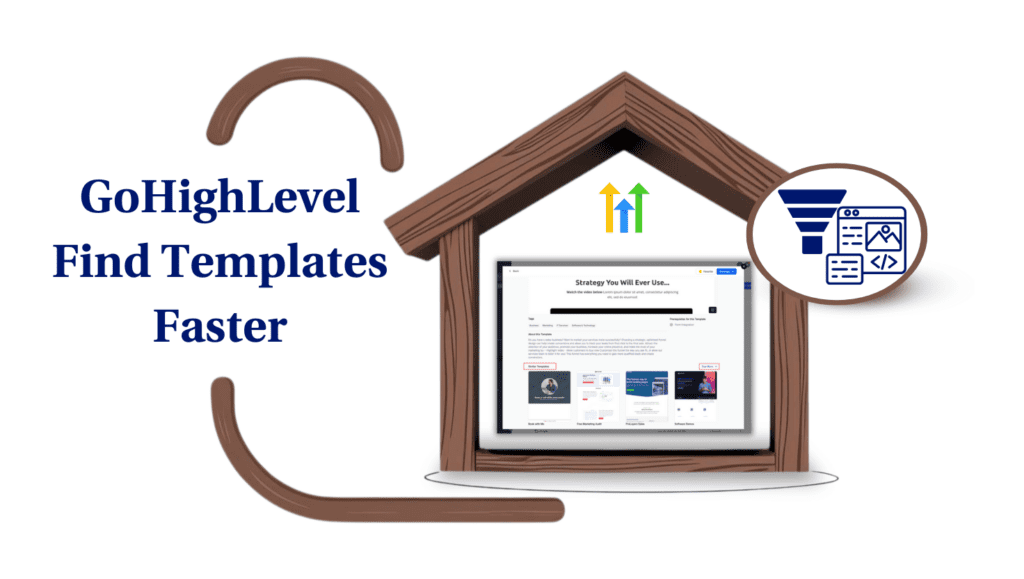
Ready to Build Something Awesome? Let’s Get into GoHighLevel’s Page Builder Elements!
Alright, let’s talk about kicking your online presence into high gear with GoHighLevel’s super user-friendly Page Builder. Forget complicated coding – if you’ve ever wanted to whip up stunning landing pages, websites that wow, or funnels that practically print money, this is your playground. GoHighLevel hands you a stack of cool drag-and-drop elements, and each one has its own special job in bringing your online dreams to life.

Whether you’re a seasoned pro or just getting your feet wet in the digital world, this guide is your backstage pass to mastering the Page Builder. We’re going to break down each element in plain English so you can jump in with confidence and start building online experiences that don’t just look good – they actually work to grow your business. So, get ready to unleash your creativity and see just how powerful these simple building blocks can be!
Mastering GoHighLevel’s Page Builder: A Guide to Elements
Alright, let’s break down how you can actually get your hands dirty with these awesome Page Builder elements inside GoHighLevel. Think of the “Sites” section in your dashboard as your creative workshop – it’s where you build all your web goodies, from slick websites to high-converting landing pages and powerful funnels.
Once you dive into the editor for a specific page or funnel step, you’ll usually see the elements panel chilling on the left side of your screen. This is where the magic wand is – just grab the elements you need, drag ’em onto your page, and then tweak them until they’re singing your brand’s song.
Here’s the lowdown on how to get started, step by simple step:
Automate marketing, manage leads, and grow faster with GoHighLevel.

Step 01 – Access the Main Menu in GoHighLevel
- The main menu on the left side of your screen includes all the main areas you work in when using GoHighLevel (GHL).
1.1 Click on the ‘Sites’ menu item to access the ‘Websites’ section.
- You’ll now be in the Websites section, where you can access the Communities tab from the top menu.
1.2 Press the ‘Websites’ tab.
1.3 Click any existing website that you want to edit.

Step 02 – Edit Your Page
2.1 Click the Edit button in the sample page column.

Step 03 – Add and Style Your Headline
3.1 Drag the Headline element into the Canvas
3.2 Type in your main message. Keep it short, clear, and benefit-driven.
3.3 Adjust font size and weight in the settings panel

Step 04 – Add and Style Your Sub-headline
4.1 Drag the Sub-headline element into the Canvas
4.2 Type in your supporting message.
4.3 Adjust your preferences in the settings panel

Step 05 – Add and Style Your Paragraph
5.1 Drag the Paragraph element into the Canvas
5.2 Type in your content
5.3 Style the paragraph

Step 06 – Add and Style Your Bullet List
6.1 Drag the Bullet List element into the Canvas
6.2 Type in your bullet points
6.3 Style the bullet list

Step 07 – Add and Style Your Button
7.1 Drag the Button element into the Canvas
7.2 Type in your call-to-action text
7.3 Style the button

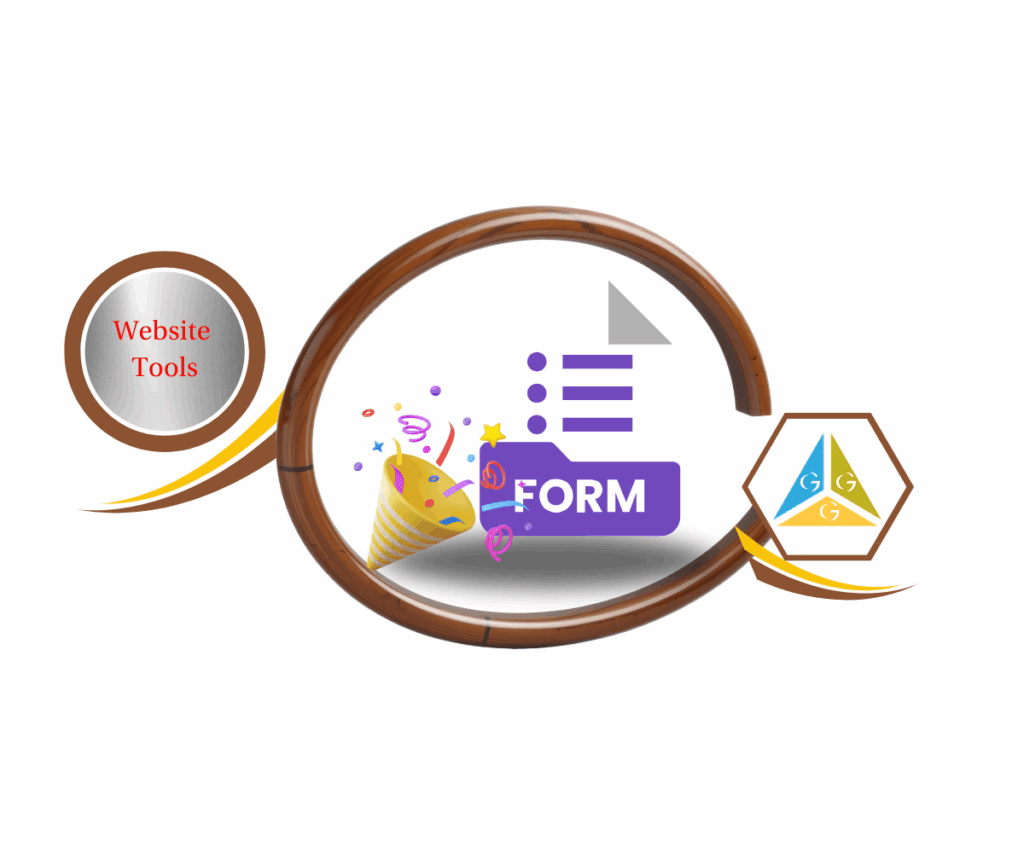
Step 08 – Add and Style Your Form
8.1 Drag the Form element into the Canvas
8.2 Choose an existing form or create a new one
8.3 Set up form functions and style
- This form is used to capture leads, trigger automations, or start a workflow.
- Style it with clean fonts, light-colored input fields, and spacing between fields.
- Make the submit button bold and branded.
- Ensure everything is mobile-friendly for easier filling on small screens.

Step 09 – Add and Style Your Blog Posts
9.1 Drag the Blog Posts element into the Canvas
9.2 Configure the Blog Post settings
9.3 Style the blog posts

Step 10 – Add and Style Your Category Navigation
10.1 Drag the Category Navigation element into the Canvas
10.2 Configure the category settings

Step 11 – Add and Style Your Social Share
11.1 Drag the Social Share element into the Canvas
11.2 Configure the social media settings
- Choose which social platforms you want to enable for sharing (e.g., Facebook, Twitter, LinkedIn, Pinterest).
- You can also customize the share button layout (horizontal or vertical) and the icons that represent each platform.
11.3 Style the social share buttons
- Ensure the icons are large enough to be clicked easily on mobile devices.
- Style the buttons with your brand colors or use default social media brand colors.

Step 12 – Add and Style Your Image Slider
12.1 Drag the Image Slider element into the Canvas
12.2 Configure the image slider settings
- Upload multiple images you want to display in the slider.
- Set the transition speed, whether you want the slider to auto-play or require users to manually navigate through slides.
- You can also enable navigation arrows or dots to let users skip through the slides.

Step 13 – Add and Style Your Video
13.1 Drag the Video element into the Canvas
13.2 Configure the video settings
- Add the video URL (e.g., from YouTube, Vimeo, or a direct file upload).
- You can also enable autoplay, set the video to loop, or choose whether you want the controls to be visible.
- Make sure the video thumbnail is set to display until the video starts playing.

Step 14 – Add and Style Your Image
14.1 Drag the Image element into the Canvas
14.2 Configure the image settings
- Upload or select the image from your media library.
- Make sure the image has a good resolution (not too small or too large) for the best visual quality.
- You can also add a link to the image if you want it to be clickable and direct users somewhere else.

Step 15 – Add and Style Your FAQ
15.1 Drag the FAQ element into the Canvas
15.2 Configure the FAQ settings
- Add your questions and answers in each FAQ block.
- Adjust font sizes for questions (e.g., 18–20px) and answers (16–18px) for readability.
- Add some spacing between each FAQ item (e.g., 15px) to avoid a cluttered look.

Step 16 – Add and Style Your Photo Gallery
16.1 Drag the Photo Gallery element into the Canvas
16.2 Configure the gallery settings
- Upload or select the images you want to display in the gallery.
- You can set the layout to display images in rows or grids and control how many images show per row.

Step 17 – Add and Style Your Code
17.1 Drag the Code element into the Canvas
17.2 Configure the code settings
- Insert your custom code into the provided text box.
- This can be anything from a tracking pixel, custom styling (CSS), or special functionality (JavaScript).

Step 18 – Add and Style Your Survey
18.1 Drag the Survey element into the Canvas
18.2 Configure the survey settings
- Choose an existing survey or create a new one by adding questions, setting answer types (multiple choice, text input, etc.), and customizing the flow between steps.
- Make sure the survey layout is simple and mobile-friendly.

Step 19 – Add and Style Your Calendar
19.1 Drag the Calendar element into the Canvas
19.2 Configure the calendar settings
- Connect the element to an existing calendar you’ve created in GoHighLevel.
- Adjust the size, alignment, and button colors to match your design.
- Add padding around the calendar for a clean layout.

Step 20 – Add and Style Your Map
20.1 Drag the Map element into the Canvas
20.2 Configure the map settings
- Enter your business address or location in the settings panel.
- You can also adjust the zoom level to show more or less of the surrounding area.

Step 21 – Add and Style Your SVG
21.1 Drag the SVG element into the Canvas
21.2 Configure the SVG settings
- Upload or paste your SVG code directly into the settings panel.
- Make sure the SVG is lightweight and properly formatted—no unnecessary scripts or animations unless intentional.

Step 22 – Add and Style Your Reviews
22.1 Drag the Reviews element into the Canvas
22.2 Configure the reviews settings

Step 23 – Add and Style Your Countdown Timer
23.1 Drag the Countdown element into the Canvas
23.2 Configure the countdown settings
- Choose between a fixed date/time countdown (e.g., ends on May 31, 11:59 PM) or an evergreen countdown that resets based on when a visitor lands on the page (e.g., 15 minutes per visitor).
- You can also set what happens when the timer ends—like redirecting to another page or hiding/showing elements.

Step 24 – Add and Style Your Minute Timer
24.1 Drag the Minute Timer element into the Canvas
24.2 Configure the timer settings
- Set the number of minutes you want the timer to count down from (e.g., 15 minutes).
- Choose what should happen when the timer hits zero—such as hiding a button, showing a message, or redirecting to another page.
- The countdown resets per user session (great for creating evergreen urgency).

Step 25 – Add and Style Your Day Timer
25.1 Drag the Day Timer element into the Canvas
25.2 Configure the day timer settings
- Set the start date and end date for the timer (e.g., from May 1st to May 7th).
- The timer will count down from the current date to the specified end date.

Step 26 – Add and Style Your Navigation Menu
26.1 Drag the Navigation Menu element into the Canvas
26.2 Configure the navigation menu settings
- Add the menu items you want to appear, such as Home, About, Services, Contact, or other relevant pages.
- You can also create dropdown menus with additional options when a user hovers over a menu item.
- Link each menu item to the appropriate page or section of your site.

Step 27 – Add and Style Your Divider
27.1 Drag the Divider element into the Canvas.
27.2 Configure the divider settings.
- You can adjust the width (full page or custom width) and alignment (center, left, right).
- Customize the color, thickness, and style (solid, dashed, dotted, or double line).

Step 28 – Add and Style Your Progress Bar
28.1 Drag the Progress Bar element into the Canvas
28.2 Configure the progress bar settings
- Set the percentage to display (e.g., 25%, 50%, 100%).
- You can manually adjust it or link it dynamically to reflect progress through a funnel or series.

Step 29 – Add and Style Your Image Feature
29.1 Drag the Image Feature element into the Canvas
29.2 Configure the image and text
- Upload your image on the left or right side (depending on layout).
- Edit the headline and paragraph next to the image to describe the feature clearly.

Step 30 – Add and Style Your Social Icons
30.1 Drag the Social Icons element into the Canvas
30.2 Configure the icon settings
- Click on each icon to set the link to your social profile (e.g., Facebook, Instagram, LinkedIn, YouTube).
- You can add or remove icons depending on which platforms you use.
Step 31 – Add and Style Your 2-Step Order
31.1 Drag the 2-Step Order element into the Canvas
31.2 Configure the 2-step order settings
- In the first step, include product selection options (e.g., pricing, quantity, options).
- In the second step, include payment details like credit card information or PayPal, along with any order summary and call-to-action buttons.
- Make sure the form is short and easy to fill out to reduce friction during checkout.

Step 32 – Add and Style Your 1-Step Order
32.1 Drag the 1-Step Order element into the Canvas
32.2 Configure the 1-step order settings
- In this step, include all essential fields—product selection, payment information, and customer details (e.g., name, email, address).
- You can also add order summary to show the customer what they’re purchasing before submitting.
- Make sure the form is simple, user-friendly, and clearly laid out to avoid overwhelming the customer.

Step 33 – Add and Style Your Order Confirmation
33.1 Drag the Order Confirmation element into the Canvas
33.2 Configure the order confirmation settings
- Set up the order details to display the product(s) purchased, the total price, and any other relevant order information (e.g., billing/shipping address).
- You can also include a thank you message and next steps, such as delivery times, access instructions, or a coupon code for future purchases.

Wrapping Up: Unleash Your Inner Web Designer with GoHighLevel’s Page Builder Elements!
Alright, let’s wrap this up, folks! You’ve now got the inside scoop on all the cool building blocks GoHighLevel’s Page Builder throws your way. From crafting killer headlines that stop thumbs mid-scroll to embedding videos that make your content pop and setting up forms that turn curious visitors into loyal fans – each element is like a superpower in your web design arsenal. Now you’re armed and ready to jump in and start building some seriously awesome stuff.
Seriously, don’t just sit there – get in the builder and start playing around! Drag those elements, tweak those settings, and watch how easily you can bring those amazing ideas in your head to life online. The real magic of GoHighLevel’s Page Builder is how simple yet powerful it is, letting you create professional-looking websites, landing pages, and funnels without ever having to wrestle with complicated code.
Ready to ditch the tech headaches and start building the online presence you’ve always dreamed of? Go dive into the Page Builder and unleash your inner web design rockstar today!
Got any other Page Builder questions or cool things you’re trying to build? Drop a comment below – let’s keep the good times rolling!
Scale Your Business Today.
Streamline your workflow with GoHighLevel’s powerful tools.