GoHighLevel’s “Remove from Workflow” Mini-Guide Explained
Alright, listen up, because this “Remove from Workflow” thingamajig is about to seriously unclog your GoHighLevel pipes. You know how it is – you’ve got leads and customers zipping through different funnels and automations, and sometimes they just keep getting those same old messages even after they’ve moved on. It’s like that buddy who keeps telling the same joke, even though everyone’s already heard it ten times. This new feature is like giving those contacts a clean exit ramp, automatically booting them out of workflows that ain’t relevant anymore. No more digital déjà vu for your audience, just smooth, targeted communication that actually hits the mark.
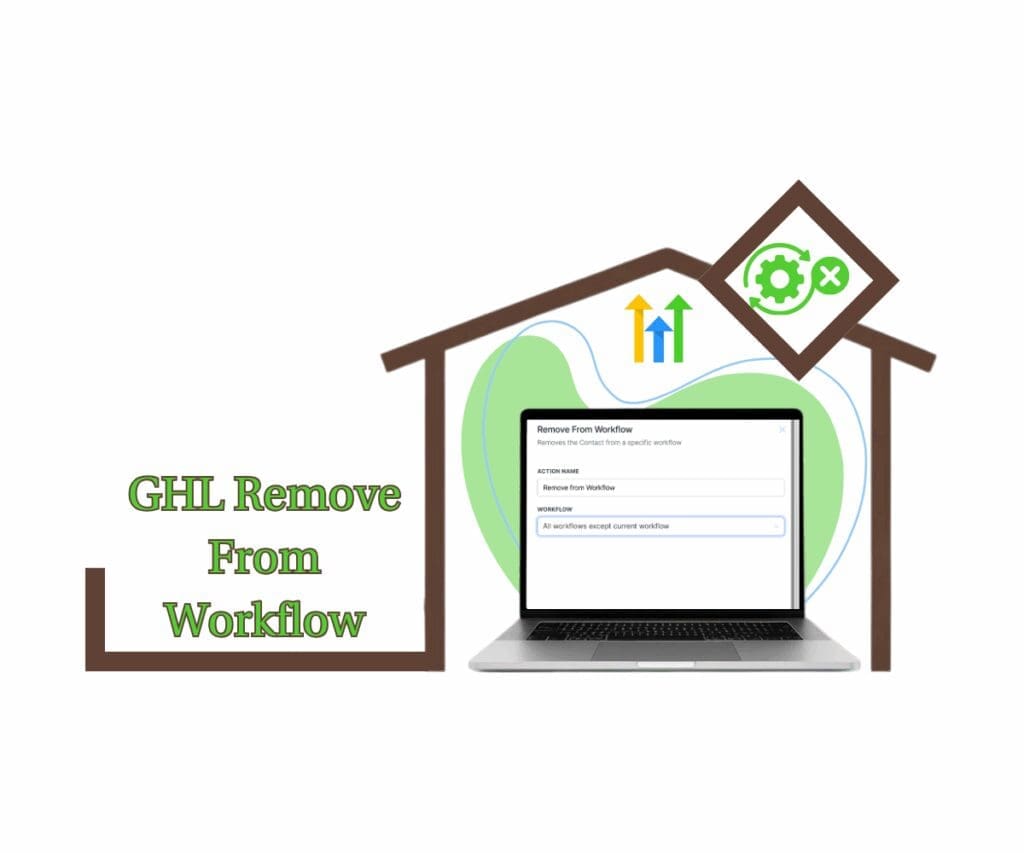
Think of it as finally getting that tangled mess of automation under control. Instead of building these crazy, complicated pathways to make sure folks exit the right sequences, you’ve now got a simple, direct “eject” button. This ain’t about being cold; it’s about being smart and respectful of your contacts’ journey. You deliver the right message at the right time, and when they’re done with a particular stage, poof! They’re outta there. This means cleaner lists, happier customers who aren’t getting bombarded with irrelevant fluff, and more time for you to focus on the stuff that actually grows your business. It’s a win-win, plain and simple.
Ditch the Automation Headaches: Your Simple Mini-Guide to Using “Remove from Workflow”
Alright, let’s get down to brass tacks and walk you through exactly how to use this “Remove from Workflow” magic in your GoHighLevel setup. This ain’t rocket science, and you don’t need a PhD in automation to get it working for you.
Think of it as your new, super-simple way to keep your contacts flowing smoothly and your messages hitting the right folks at the right time.
Here’s the straight-up guide on how to make the “Remove from Workflow” action your new best friend:
Automate marketing, manage leads, and grow faster with GoHighLevel.

Step 01: Access the Automation Section
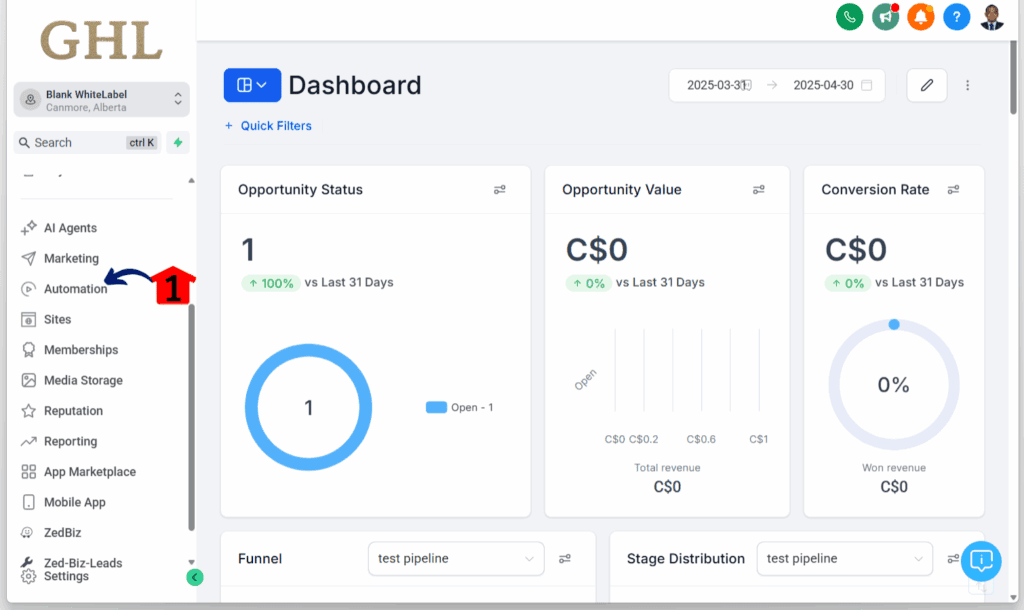
1.1 On your GoHighLevel sub-account, go to Automation.
1.2 The Automation option is located on the left side of the dashboard—above Sites and below Marketing.
Step 02: Choose or Create Your Workflow
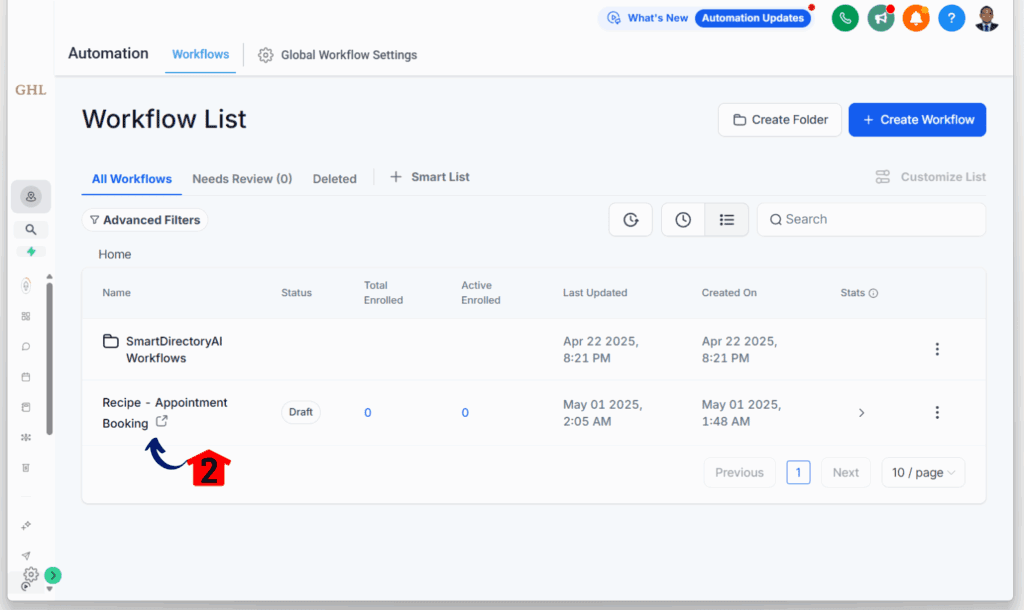
2.1 You’ll be directed to the Workflows tab under the Automation section.
2.2 Choose and click the workflow where you want to use the “Remove from Workflow” action.
2.3 For this example, we’ll use the existing workflow titled “Recipe – Appointment Booking.”
2.4 You can also create a workflow using GoHighLevel’s Recipes. Need help? Watch this clip: “How to Create a Workflow in GoHighLevel.”
Step 03: Add a New Action Step
3.1 On your workflow canvas, select the specific step where you want to add the “Remove from Workflow” action.
3.2 Click the “+” icon to add an action.
3.3 In this example, we’ll add the action after a lead doesn’t reply or fails to meet the Did they reply? condition.

Step 04: Search for the Action
4.1 A new sliding pop-up will appear.
4.2 In the search bar, type “Remove from Workflow” to find the action.

Step 05: Select the Action
5.1 Click the “Remove from Workflow” action.
5.2 It will only appear if you type the exact action name correctly.

Step 06: Choose the Removal Option
6.1 Select your preferred removal option from the list.
6.2 Here’s what each option does:
- Current Workflow: Removes the contact from the current workflow only.
- Another Workflow: Lets you pick a specific workflow to remove the contact from.
- All Except Current Workflow: Removes the contact from all workflows except the one they’re currently in.
- All Workflows: Completely removes the contact from all active workflows.

Step 07: Save the Action
7.1 Once you’re done, click the Save Action button.
7.2 It’s located at the bottom right of the sliding pop-up, next to the Cancel button.

Step 08: Publish Your Workflow
8.1 Toggle on the Publish button.
8.2 You’ll find it at the top right corner of the workflow canvas.

Step 09: Save Your Workflow
8.1 Finally, click the Save button to save your entire workflow.
8.2 You’ll find it at the top right corner of the workflow canvas.

Follow these simple steps, and you’ll be using the “Remove from Workflow” action like a seasoned pro, keeping your GoHighLevel automations clean and mean.
Final Thoughts: Stop the Workflow Chaos and Unleash Your Business Power
Listen, the “Remove from Workflow” action isn’t just some fancy new button in GoHighLevel; it’s your secret weapon against the messy, tangled web of automation that can bog down even the slickest operations. It’s about taking control, streamlining your communication, and making sure your contacts are getting exactly what they need, exactly when they need it. By implementing this simple yet powerful feature, you’re not just cleaning up your workflows – you’re leveling up your entire customer experience and freeing yourself up to focus on the stuff that really moves the needle.
So, ditch the manual headaches, say goodbye to irrelevant messages, and start harnessing the true power of workflow automation. Go ahead, give it a whirl, and watch your business run smoother than a freshly paved highway. Now go out there and make some automation magic happen!
Share your thoughts on this mini-guide and let us know what you think!
Scale Your Business Today.
Streamline your workflow with GoHighLevel’s powerful tools.
