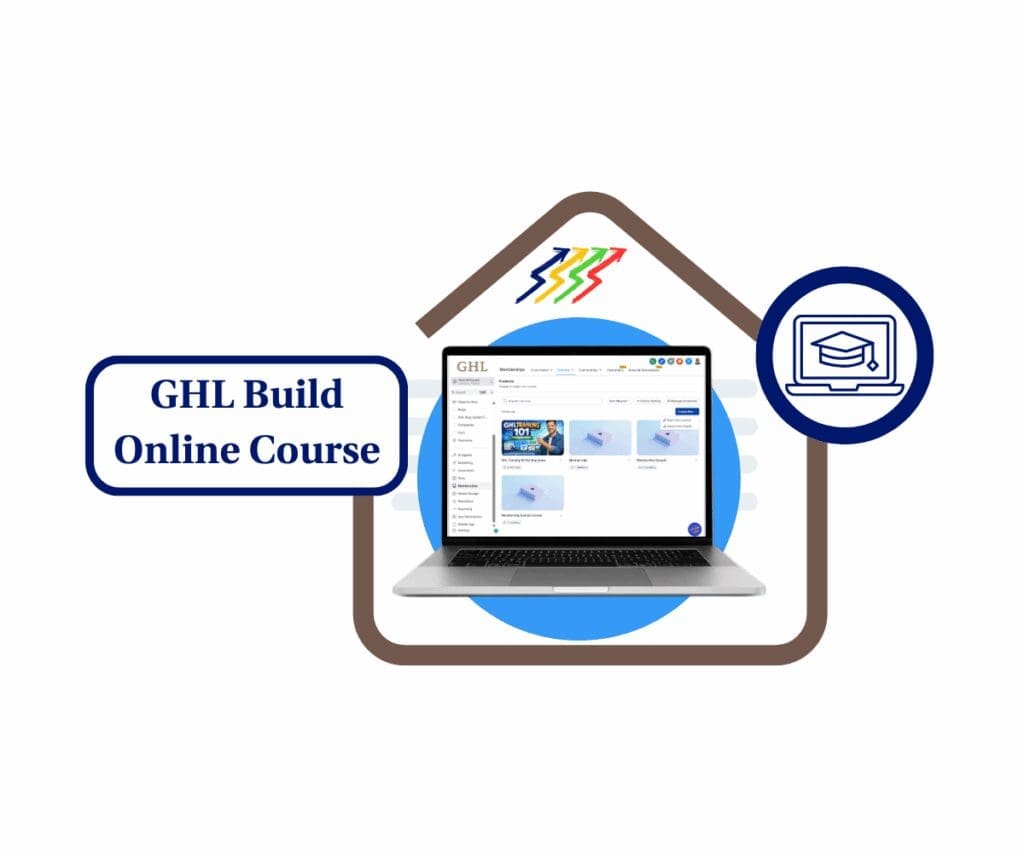
- Effortlessly Manage Communities and Courses from One Place
- Quick Summary – Creator Dashboard Essentials
- What’s New in the Creator Dashboard
- Why This Creator Dashboard Matters
- How to Use the Creator Dashboard
- Pro Tips for Using the Creator Dashboard
- Frequently Asked Questions About the Creator Dashboard
- Results You Can Expect from the Creator Dashboard
- A Unified Creator Dashboard That Works
Effortlessly Manage Communities and Courses from One Place
Simplify Digital Product Management
A solid creator dashboard should make your life easier not harder. But if you’re running a course or community, you probably know how messy it gets. Tabs everywhere. Tools that don’t talk to each other. Things slip through the cracks.
That’s why GoHighLevel introduced Kollab Studio. It brings your courses and communities together in one place. No more jumping between screens just to update a title or check what’s published.
You can preview sales pages, change publish status, and manage settings all from one clean view.
It’s simple, efficient, and built for creators who want more control.

Kollab Studio gives you a single creator dashboard to manage your communities and courses without the usual mess. Make updates faster, stay organized, and focus more on growing your audience.
Quick Summary – Creator Dashboard Essentials
Purpose: Kollab Studio introduces a unified creator dashboard that brings all your communities and courses into one clean space.
Why It Matters: It removes the need to switch between tools, saving you time and cutting down on errors.
What You Get: A centralized view to manage publish status, sales page previews, and community settings.
Time To Complete: You can learn the new dashboard layout in under 10 minutes.
Difficulty Level: Easy to use, even if you’re not tech-savvy.
Key Outcome: Faster updates, more control, and better management of your digital products.
What’s New in the Creator Dashboard
Kollab Studio lives right under your profile inside GoKollab. Once you open it, you’ll see two main sections, Communities and Courses, both tied into your creator dashboard.
In the Communities section, you can:
Automate marketing, manage leads, and grow faster with GoHighLevel.

- See all the communities you’ve created
- Preview the public sales pages
- Publish or unpublish with one click
- Access and update community settings
No need to dig through different areas to make small changes. It’s all here.
The Courses section is just as straightforward:
- View your full course list
- Edit the publish status of any course
- Preview the course sales page
Right now, course editing is limited to basic publishing and preview controls, but more features are on the way. You’ll soon be able to update course content and settings directly from the same view.
This new creator dashboard is designed to keep things tight and simple. Less clicking, more doing.
Why This Creator Dashboard Matters
When your tools are all over the place, work gets harder. Simple updates take longer than they should. And it’s easy to forget things or let them slip.
The new creator dashboard changes that. It gives you one place to manage your communities and courses. You can publish, preview, and update without bouncing between tabs or systems.
That means less time clicking around and more time doing real work.
It also helps you stay on top of your content. You can see what’s live, what’s missing, and what needs fixing fast.
This isn’t just about saving time. It’s about running your digital products like a real business. GoKollab built Kollab Studio for creators who want more control without the usual hassle.
How to Use the Creator Dashboard
Using the new creator dashboard in Kollab Studio is easy, even if you’re managing a lot of content. Everything is laid out in one place, so you can handle updates without digging through different menus. Whether you’re checking sales pages, changing the publish status, or updating settings, it only takes a few clicks.
Step 01 – Access the Kollab Studio
- Inside your Kollab Account
1.1 Click your profile icon in GoKollab, then choose “Kollab Studio” from the dropdown.
1.2 Click Kollab Studio

- This opens the new dashboard where you can see both your communities and courses.
1.3 Click Communities

Step 2: Explore the Communities Section
- Inside the Communities tab, you’ll see a list of all your active and inactive groups.
From here, you can:
2.1 Click the 3 vertical dots on the existing community
- a drop-down menu will appear; this will give you the options
2.2 Click Preview if you want to check what users see
2.3 Click “Publish” or “Unpublish” to change visibility
2.4 Click Community Settings to edit names, descriptions, and links

Step 3: Manage Your Courses
3.1 On the Left menu click to the Courses tab for a similar layout.
You can:
- See all the courses you’ve created
- Change the publish status of each one
- Preview the sales page before going live
Editing content from this view isn’t available yet, but it’s coming soon.

Bonus Tip:
- Each preview opens in a new tab, so you can make quick checks without losing your place.
- This setup saves you time and makes updates easier, especially if you’re juggling more than one product. No more hunting around the platform just to fix a headline.
Pro Tips for Using the Creator Dashboard
If you want to get the most out of the creator dashboard, here are a few simple tips that can make your workflow faster and smoother.
Use the preview tool like a checklist
Before you launch anything, click the preview link to double-check your sales page. Look for broken links, typos, or missing images. A 30-second review can save you from bad first impressions.
Set a weekly update time
Pick one day a week to log in, review your course or community status, and make any needed changes. This helps you stay consistent without letting things pile up.
Link your community to your course
If you run both a course and a community, use your sales pages or onboarding emails to tie them together. This helps you build engagement and creates more value for your audience.
Track what you change
Keep a short doc or notepad with the changes you’ve made each week. It’ll help you see what’s working and make future updates faster.
These small habits can save time and help you run your digital products more like a system and less like a scramble.
Frequently Asked Questions About the Creator Dashboard
If you’re building digital products, this dashboard is going to be your new best friend.
Results You Can Expect from the Creator Dashboard
With everything in one place, the creator dashboard helps you work faster and smarter. You’ll notice it almost right away.
You won’t need to click around to check if something’s live or to find a sales page link. It’s all laid out, so you can move quicker and stay focused on what matters – growing your audience and making sales.
You’ll also cut down on errors. When you manage your communities and courses from the same spot, it’s easier to keep your info and links up to date.
For creators juggling multiple products, this means fewer headaches. You get a clearer view of what’s working and what needs attention without wasting hours every week.
Small changes like this add. Better workflow. Better output. Better results.
A Unified Creator Dashboard That Works
Managing digital products doesn’t need to feel scattered. With the new creator dashboard inside Kollab Studio, you’ve got a clean, simple way to run your courses and communities from one place.
This update is more than a UI change. It’s a shift in how creators manage their business on GoHighLevel. Less jumping between pages. More time making progress.
If you haven’t explored Kollab Studio yet, log in and take a look. A few clicks and you’ll see how much smoother things can be.
GoKollab is building tools for creators who take their work seriously. This dashboard is just the beginning.
Scale Your Business Today.
Streamline your workflow with GoHighLevel’s powerful tools.