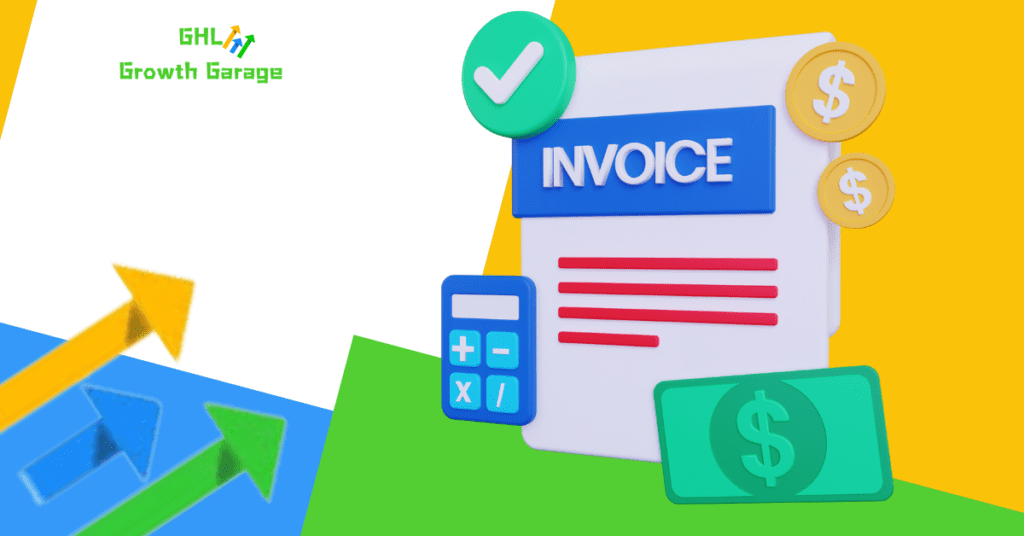
Ditch the Data Dump: Your QuickBooks Import Invoices Just Got a Whole Lot Smarter
Listen up, if you’ve ever felt like you’re drowning in a tidal wave of financial data when trying to pull stuff from QuickBooks, I feel your pain. You’re trying to get what you need, not the whole kit and caboodle from way back when the dinosaurs roamed. Well, good news, my friend! The crew behind the scenes has just unleashed a seriously slick update that’s gonna put you back in the driver’s seat. We’re talking about date-range support for your QuickBooks import invoices!
That’s right. No more just blindly pulling in every single invoice ever created. Now, you can be laser-focused. Need just the invoices from last month? Boom. Only the stuff from the last quarter? Done. This ain’t some minor tweak; it’s about giving you the control to bring in exactly what you need, making your workflow smoother than a freshly paved highway. Forget the days of sifting through endless records. With this new feature for QuickBooks import invoices, you call the shots on what comes in and what stays out.
Think about the time you’ll save, the clutter you’ll avoid. This update for QuickBooks import invoices isn’t just about convenience; it’s about giving you clarity and making your financial management a whole lot cleaner. You want to focus on what’s happening now, not get bogged down in ancient history. We get it. And now, you can do something about it.

Finally, a no-nonsense way to bring in just the QuickBooks invoice data you need, exactly when you need it, giving you a crystal-clear view of your financials without the headache.
What’s New: QuickBooks Invoice Import with Date Range
The big news here is simple but powerful: you now have the ability to select a specific start date and end date when you’re importing invoices from QuickBooks into your account.
- Flexible Date Selection: Instead of an all-or-nothing import, you can now pinpoint the exact timeframe you’re interested in. Whether it’s this fiscal year, the last quarter, or even a custom period, the choice is yours.
- Selective Migration: This means only the invoices created within your chosen date range will be pulled into your system. No more wading through irrelevant historical data. It’s all about getting what you need, and nothing you don’t.
Why This Matters for You
Automate marketing, manage leads, and grow faster with GoHighLevel.

This update isn’t just a fancy new button; it’s a game-changer for how you manage your financial data. Here’s why it should get you excited:
- Simplified Migration: If you’re just getting started or need to bring over specific financial periods, this makes the process way less daunting. No need to import everything and then try to sort it out.
- Control & Clarity: You get to decide what data comes into your system. This means less clutter, a cleaner overview of your financials, and the ability to focus on the data that’s actually relevant to your current operations.
- Efficiency: Importing only what you need saves time and resources. You’re not waiting for a massive data dump, and your system stays more responsive.
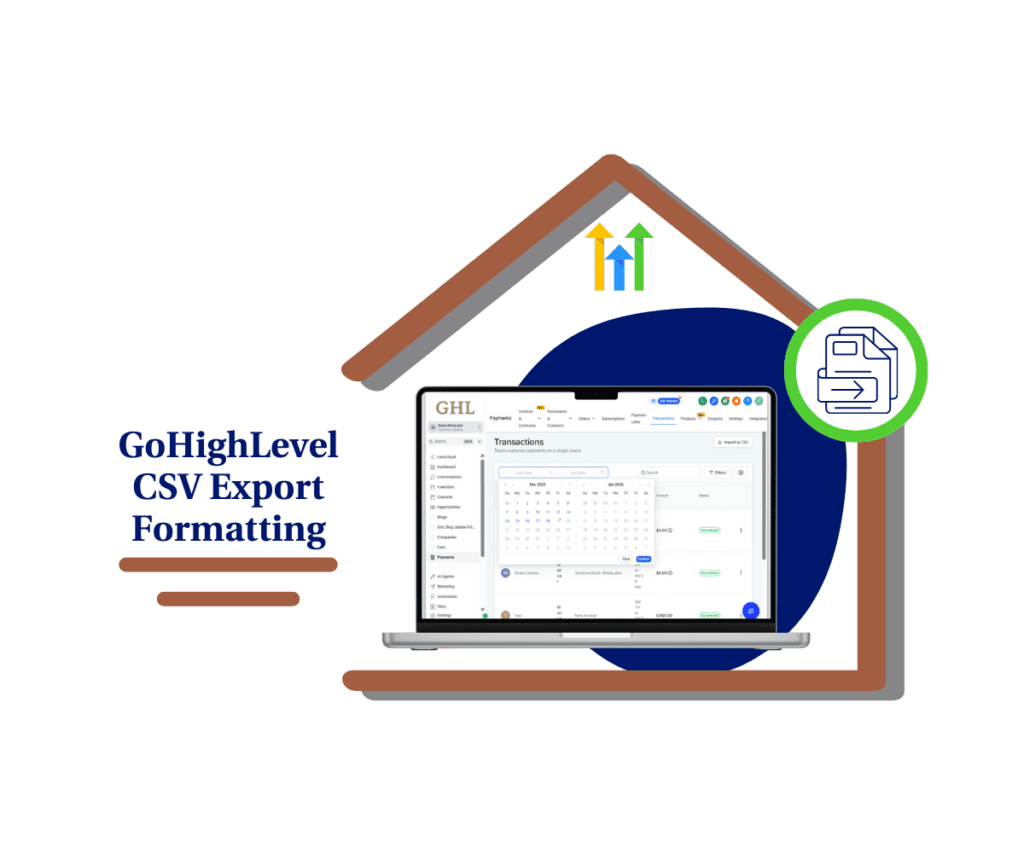
Here’s How to Import Your QuickBooks Invoices by Date
This part shows you how to use the new date range tool when you bring your QuickBooks invoices into GoHighLevel. It’s in the “Integrations” area of your settings.
Step 1.0 – Access the Settings Area in GoHighLevel
- Go to the left-hand sidebar, look all the way to the bottom.
1.1 Click on the gear icon ⚙️ labeled “Settings.”
- You’ll now be in the main Settings dashboard, where you can access:
- Business Info
- Billing
- My Staff
- Integrations
- and more.

Step 02: Open Integrations
- The Main Menu on the Left side of your screen has all the settings available when inside the Setting Dashboard.
2.1 Click the ‘Integrations’ tab.
- You’ll now be in the Integration dashboard, where you can access the available applications.

Step 03: Find QuickBooks
- Scroll down to find the QuickBooks section.
3.1 Click ‘Connect’ Button
- This opens the QuickBooks Integration window.

Step 04: Turn On Invoice Import
- Find the ‘Import Invoices’ option
4.1 switch the toggle to ‘ON’.

Step 05: Pick Your Dates
5.1 Click on the date-picker that appears.
5.2 Choose the ‘Start Date’ for the invoices you want.
5.3 Choose the ‘End Date’ for the invoices you want.
5.4 Click ‘Confirm’ after picking your dates.
5.5 Click ‘Next’ to begin importing the invoices from the date range you picked.

Step 06: Sync Settings
- You have the option to include sending a review request by checking the checkbox.
6.1 Click on the check box to send a review request after every invoice paid.
6.2 Click Connect

Step 07: Quickbooks Login
- It will asked you now to log in to your Quickbooks.
- GoHighLevel will now import your invoices. You can keep working on other things while it finishes.

Wrapping Up: Take Control of Your QuickBooks Import Invoices Data
This update to the QuickBooks import invoices process is all about giving you more control and making your life easier. No more sifting through unnecessary data – just the specific invoices you need, right when you need them.
Ready to experience a smoother, more efficient way to manage your financial data? Head over to your GoHighLevel account and give the new date-range import a try!
What are your thoughts on this GHL Quickbooks Import Invoices? Drop a comment below and let us know how you plan to use this new feature!
Scale Your Business Today.
Streamline your workflow with GoHighLevel’s powerful tools.