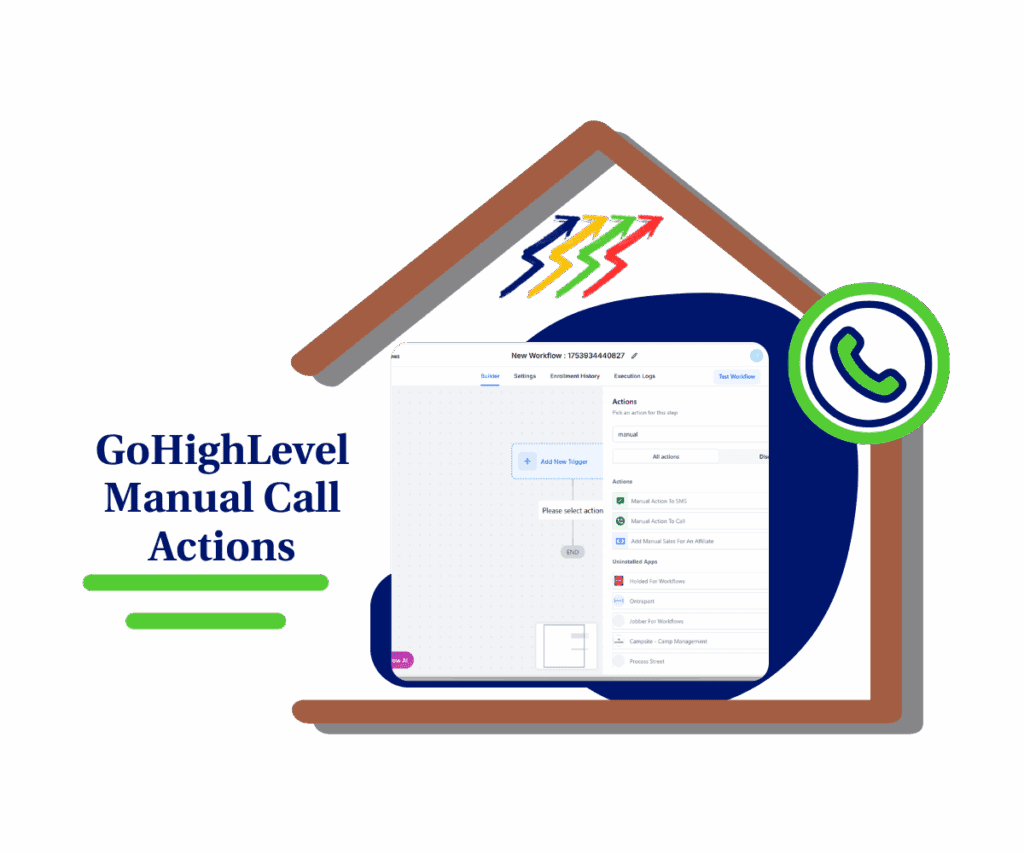
- Send Order Confirmations and Upsells Automatically
- Quick Summary – Post Purchase Automation Overview
- Video Walkthrough: Build a Post Purchase Automation Workflow
- Why Post Purchase Automation Matters
- Benefits of Post Purchase Automation
- Set Up a Post Purchase Automation Workflow
- Tips for Better Upsell Emails
- Post Purchase Automation Examples
- Post Purchase Automation FAQs
- Final Thoughts on Post Purchase Automation
Send Order Confirmations and Upsells Automatically
Post Purchase Automation in GHL lets you send an order email right after a sale. You can then send an upsell email a few days later. The setup uses a simple workflow with a trigger, email actions, and a wait step. Once it is live, the workflow runs on its own.
I’ve seen many businesses work hard to get a sale. Then they stop talking to the customer. That is where many sales get left behind.
The best time to follow up is often right after a purchase. The customer already knows who you are. They already trust you enough to buy.
Research shows that existing customers are more likely to buy again than new visitors. Yet many businesses send a receipt and never follow up.
A simple Post Purchase Automation workflow helps fix that problem. Your customer gets an order email right away. A few days later, they get an offer that matches what they already bought.

In this guide, you’ll learn how to build a Post Purchase Automation workflow in GHL step by step. By the end, you’ll have a simple system that confirms orders, follows up with customers, and helps you earn more from every sale.
Quick Summary – Post Purchase Automation Overview
Purpose: This guide shows you how to set up a Post Purchase Automation workflow in GHL. It sends an order email first. It then sends an upsell email a few days later.
Why It Matters: Many people stop after the sale. This workflow helps you stay in touch with buyers after they make a purchase.
What You Get: You get a simple follow-up flow. It sends emails for you and helps guide buyers to the next offer.
Time to Complete: You can set up and test this workflow in about 10 to 15 minutes.
Difficulty Level: Easy. You only need a trigger, two emails, and a wait step.
Key Outcome: Each new order starts the same follow-up flow. This helps you stay in touch with buyers and make more sales over time.
Video Walkthrough: Build a Post Purchase Automation Workflow
Want a simple way to follow up after every sale? This video shows you how to build a Post Purchase Automation workflow in GHL that sends an order email first and an upsell email a few days later.
What you’ll see:
Automate marketing, manage leads, and grow faster with GoHighLevel.

- How to create a new workflow in GHL.
- How to add an Order Submitted trigger.
- How to send an order email after a sale.
- How to add a three-day wait and an upsell email.
By the end of the video, you’ll know how to set up a Post Purchase Automation workflow that runs on its own and helps you stay in touch with buyers after they purchase.
Why Post Purchase Automation Matters
Getting a sale feels great. But the sale is not the end of the customer journey. Many businesses stop talking to customers after they buy. That is often a missed chance to build trust and earn more sales.
A simple Post Purchase Automation workflow helps you stay in touch. Your customer gets an email right after they buy. A few days later, they can get another email with a helpful next offer. The whole process runs on its own inside GHL.
Here are some reasons why Post Purchase Automation works well:
- Customers know their order went through.
- Customers get help at the right time.
- You stay in touch after the sale.
- You can offer a related product or service.
- You spend less time sending emails by hand.
- The workflow runs for every new order.
- Customers stay connected to your business.
If you work hard to get a customer, it makes sense to follow up after the sale. A good Post Purchase Automation workflow helps you do that. It keeps customers informed, builds trust, and helps you get more value from each sale.
Benefits of Post Purchase Automation
A good Post Purchase Automation workflow helps you stay in touch after a sale. You set it up once. Then GHL does the work for you. Your emails go out on time without extra effort from you.
Many people focus on getting new buyers. That makes sense. But there is also value in helping the people who have already bought from you. A simple follow-up can keep your business fresh in their mind.
Some of the main benefits are:
- Order emails go out right away.
- Buyers know their order was received.
- You stay in touch after the sale.
- Follow-up emails go out on time.
- Buyers see offers that match their needs.
- You spend less time doing tasks by hand.
- Each buyer gets the same follow-up path.
- The workflow runs on its own.
- You get more chances to make another sale.
A Post Purchase Automation workflow also helps you stay on track. You do not need to remember who bought or when to send an email. The system does that for you. That means less work for you and a better path for each buyer.
Set Up a Post Purchase Automation Workflow
Creating a Post Purchase Automation workflow is done inside the Automation area of GoHighLevel. You will build a workflow that starts when a customer buys a specific product, sends an order confirmation email, waits three days, and then sends an upsell email automatically.
This setup helps you stay in touch with customers after a sale without needing to send emails manually. Here are the steps to create and activate a Post Purchase Automation workflow in GoHighLevel.
- Access the Workflow Builder from the Automation Section.
- Set the Order Submitted Trigger After Renaming Your Workflow.
- Rename the Order Submitted Trigger and Add a Filter.
- Set Your Global Product Filter Before Saving the Trigger.
- Search for and Add the Send Email Action Element.
- Set the Sender Name and Email Address.
- Add the Email Subject Line and Body.
- Search for and Add the Wait Action Element.
- Rename the Wait Action Element and Set the Time Period.
- Search for and Add the Send Email Action Element for the Upsell.
- Set the Sender Name and Email Address.
- Add the Email Subject Line and Upsell Email Body.
- Publish and Save Your Workflow.
To start, make sure you are logged in to your GoHighLevel sub-account, and your sales funnel is already set up.
Step 01 – Access the Workflow Builder from the Automation Section
- Create the Post Purchase Automation workflow using the Workflow Builder in the Automation section.
1.1 Click Automation.
- You will be taken to the Workflows tab by default.
1.2 Click Workflows.
- You will see a list of workflows, along with options such as Create Folder, Build Using AI, and + Create Workflow.
1.3 Click + Create Workflow.
- A dropdown menu will appear with several options, including + Start from Scratch.
1.4 Click + Start from Scratch.
- You will be taken to the Workflow Builder.

Step 02 – Set the Order Submitted Trigger After Renaming Your Workflow
- Rename your workflow, then set the Invoice trigger.
2.1 Rename your workflow.
- Click the Pencil icon at the top of the Workflow Builder and enter a new name for your workflow.
2.2 Click the Add New Trigger button.
- The trigger library will appear, where you can search for and select a trigger.
2.3 Search for and click Order Submitted.
- You will be taken to the trigger settings page.

Step 03 – Rename the Order Submitted Trigger and Add a Filter
- Give the Order Submitted trigger a clear name, then add a filter.
3.1 Rename the Order Submitted trigger.
- This makes it easier to identify on the workflow canvas.
3.2 Click the Add filters button
- A set of drop-down filters should appear at the bottom of the Add filters button.

Step 04 – Set Your Global Product Filter Before Saving the Trigger
- Set the specific Global Product for this workflow before saving the trigger.
4.1 Set the first filter to Global Product.
- Another dropdown filter will appear.
4.2 Choose the Is option for the second filter.
- Another dropdown filter will appear below the second filter.
4.3 Choose the specific product you are selling with this workflow.
4.4 Click the Save Trigger button.
- The Order Submitted trigger will now appear on the Post Purchase Automation workflow canvas.

Step 05 – Search for and Add the Send Email Action Element
- Click the Add New Element button, then search for and select the Send Email action element.
5.1 Click Add New Element.
- The action library will appear on the right side of the canvas.
5.2 Search for and select the Send Email action element.
- You will be taken to the Send Email settings.

Step 06 – Set the Sender Name and Email Address
- Set the sender details for this workflow email.
6.1 Rename the Send Email action element.
- Use a clear and simple name.
6.2 Add the sender name.
- You can also use a custom value for the sender name.
6.3 Add the sender email address.
- You can also use a custom value for the sender email address.

Step 07 – Add the Email Subject Line and Body
- Enter your email subject and message.
7.1 Enter the email subject line.
- Keep the subject short and clear.
7.2 Enter the Order Confirmation email body.
- Keep the message short and polite.
7.3 Click the Save Action button.
- The Send Email action element will now appear on the Post Purchase Automation workflow canvas.

Step 08 – Search for and Add the Wait Action Element
- Click the Add New Element button, then search for and select the Wait action element.
8.1 Click Add New Element.
- The action library will appear on the right side of the canvas.
8.2 Search for and select the Wait action element.
- You will be taken to the Wait settings.

Step 09 – Rename the Wait Action Element and Set the Time Period
- Rename the action element and choose the For a Set Period of Time option.
9.1 Rename the Wait action element.
- This makes the workflow easier to read on the workflow canvas.
9.2 Select the For a Set Period of Time option.
- You will see two input boxes where you can set the time period for this action element.
9.3 Type 3 in the Time Period field.
- By default, the time period is set to minutes.
9.4 Set the Unit to Days.
9.5 Click the Save Action button.
- The Wait action element will now appear on the Post Purchase Automation workflow canvas.

Step 10 – Search for and Add the Send Email Action Element for the Upsell
- Click the Add New Element button, then search for and select the Send Email action element.
10.1 Click Add New Element.
- The action library will appear on the right side of the canvas.
10.2 Search for and select the Send Email action element.
- You will be taken to the Send Email settings.

Step 11 – Set the Sender Name and Email Address
- Set the sender details for this workflow email.
11.1 Rename the Upsell Send Email action element.
- Use a clear and simple name.
11.2 Add the sender name.
- You can also use a custom value for the sender name.
11.3 Add the sender email address.
- You can also use a custom value for the sender email address.

Step 12 – Add the Email Subject Line and Upsell Email Body
- Enter your email subject and message.
12.1 Enter the email subject line.
- Keep the subject short and clear.
12.2 Enter the Upsell email body.
- Keep the message short and polite.
12.3 Click the Save Action button.
- The Send Email action element will now appear on the Post Purchase Automation workflow canvas.

Step 13 – Publish and Save Your Workflow
- Turn on Publish and save your workflow.
13.1 Turn on the Publish toggle.
- The toggle will turn blue to show that it is active.
13.2 Click Save.
- The red dot on the Save button will disappear, confirming that your workflow has been saved.

Tips for Better Upsell Emails
A Post Purchase Automation workflow can help you send upsell emails at the right time. But the email itself still matters. If the offer feels useful and fits what the customer already bought, you have a better chance of getting a response.
The best upsell emails are usually simple. You do not need a long sales message. In most cases, a short email with a clear offer works much better than a long one with too much information.
Here are a few tips that can help:
- Offer something that matches the original purchase.
- Focus on one offer at a time.
- Use a clear subject line.
- Keep your email short.
- Explain the main benefit of the offer.
- Add one clear call to action.
- Make it easy for the customer to buy.
- Test different subject lines.
- Try different wait times.
- Remove extra links that may distract the reader.
It also helps to think about what your customer needs next. A good upsell should feel like the next step, not a random offer. When your Post Purchase Automation workflow delivers the right offer at the right time, the email feels more helpful and more relevant to the customer.
Post Purchase Automation Examples
A Post Purchase Automation workflow can fit almost any business that sells a product or service. The goal is simple. After a customer buys, you keep the conversation going and show them a logical next step.
The best results usually come from offers that match the original purchase. If the offer feels useful and relevant, it is more likely to get attention and clicks.
Here are some common ways you can use Post Purchase Automation:
- Sell a digital course and offer an advanced course.
- Sell a template and offer a template bundle.
- Sell a snapshot and offer setup help.
- Sell a membership and offer private coaching.
- Sell a service and offer ongoing support.
- Sell a workshop and offer a follow-up program.
You can also use this workflow to guide customers through your full product line. Each offer helps move them to the next stage instead of leaving them to figure it out on their own.
The key is to keep the offer closely linked to what the customer already bought. A well-planned Post Purchase Automation workflow feels helpful because it gives customers a clear next step that makes sense for their needs.
Post Purchase Automation FAQs
If you’re setting up your first Post Purchase Automation workflow, it is normal to have a few questions. The answers below cover some of the most common questions about workflow setup, email timing, and how to get the best results from your follow-up process in GHL.
Final Thoughts on Post Purchase Automation
A Post Purchase Automation workflow helps you stay in touch after a sale. It gives each buyer a clear next step. It also helps you keep the conversation going without extra work.
Once you set up the workflow, GHL does the rest. Each new order follows the same path. That means your buyers get the right emails at the right time.
Here are some of the main benefits:
- Buyers get an order email right away.
- You stay in touch after the sale.
- Follow-up emails go out on time.
- Buyers see offers that match their purchase.
- You spend less time doing tasks by hand.
- The workflow runs on its own.
- You get more chances to make another sale.
The best part is that you only need to build it once. After that, the workflow keeps running in the background. This helps you save time and gives each buyer the same path after they buy.
If you sell products or services in GHL, a Post Purchase Automation workflow is worth using. It is simple to set up and easy to manage. Small changes after a sale can often make a big difference over time.
Have you tried a Post Purchase Automation workflow yet? What upsell offer would you send after a customer buys?
Scale Your Business Today.
Streamline your workflow with GoHighLevel’s powerful tools.