- Send alerts when contact records signal buying intent
- Quick Summary – Lead Alert Automation Essentials
- Video Guide for GHL Lead Alert Automation
- Why Lead Alerts Matter
- Contact Changes That Trigger Alerts
- How to Set Up Lead Alert Automation
- Lead Alert Automation Tips
- Business Benefits of Lead Alerts
- Lead Alert Automation FAQs
- Start Using Lead Alert Automation
Send alerts when contact records signal buying intent
Lead Alert Automation helps you notify your sales team when important contact details change in GoHighLevel. You can track updates such as tags, custom fields, lead scores, and other contact data. When a change happens, your team gets an alert so they can follow up faster and focus on leads that show stronger buying intent.
If you manage leads inside GHL, you already know that timing matters. In many cases, the real issue is not getting leads. It is knowing when a lead is ready for the next step. A tag change, lead score update, or custom field update can be an early sign that someone is ready to talk.
Research has shown that faster follow-up can improve your chances of connecting with a lead. Yet many teams still rely on manually checking contact records throughout the day. As your contact list grows, it becomes harder to manage.

In this guide, you’ll learn how to build a simple Lead Alert Automation workflow, track important contact changes, and send instant alerts to the right team members. By the end, you’ll have a practical system that helps your team spot hot leads sooner and respond while interest is still high.
Quick Summary – Lead Alert Automation Essentials
Purpose: Lead Alert Automation helps your team see key lead changes in GoHighLevel.
Why It Matters: Your team does not need to keep checking contact records to spot lead updates.
What You Get: You will build a workflow that sends an alert when a selected contact change happens.
Time to Complete: Most users can set up this workflow in 10 to 15 minutes.
Difficulty Level: Easy. This guide is a good fit for new and experienced GHL users.
Key Outcome: Your team can see lead updates faster and follow up at the right time.
Video Guide for GHL Lead Alert Automation
See how to set up Lead Alert Automation in GoHighLevel. This quick video shows how to send alerts when key lead changes happen.
What you’ll learn:
Automate marketing, manage leads, and grow faster with GoHighLevel.

- How to create a new workflow.
- How to add the Contact Changed trigger.
- How to track lead tags and field changes.
- How to send alerts to your team.
Why Lead Alerts Matter
A lead can lose interest fast. That is why timing matters.
A contact may update their details, get a new tag, or reach a new stage in your sales process. If your team does not see that change, they may miss the best time to follow up.
Lead Alert Automation helps solve that problem. Instead of checking contact records all day, you can let GoHighLevel watch for key changes and send alerts for you.
Some updates that may need quick action include:
- A contact gets a Hot Lead tag.
- A lead score goes up.
- A custom field is updated.
- New contact details are added.
- A lead moves to a new stage.
These changes may seem small. In many cases, they show that a lead is more interested and ready to talk.
As your contact list grows, it gets harder to track every update. Things can get missed. Lead Alert Automation helps your team stay informed without extra work.
Some key benefits include:
- Faster follow-up.
- Better lead tracking.
- Less manual checking.
- Better team awareness.
- More consistent action.
The goal is simple. Your team knows when something important happens. That makes it easier to contact the right leads at the right time.
Contact Changes That Trigger Alerts
Not every lead signal comes from a form submission or a booked call. Sometimes the most important signs are small changes inside a contact record. That is why Lead Alert Automation can be so useful.
With the Contact Changed trigger, GoHighLevel can watch for updates and let your team know when something important happens. This helps you spot leads that may need attention without checking contact records all day.
Some common contact changes you may want to track include:
- A tag is added.
- A tag is removed.
- A lead score changes.
- A custom field is updated.
- Contact details are changed.
- A website field is updated.
- A sales status changes.
- A qualification field is updated.
These updates may seem small, but they can tell you a lot about a lead. For example, a contact may move from a Cold Lead tag to a Hot Lead tag. A lead score may go up after several visits to your website. A custom field may show that a prospect is ready for a call.
The key is to focus on changes that help your team take action.
Good examples include:
- Hot Lead tag updates.
- Sales-ready lead scores.
- Budget or service interest updates.
- New website information.
- Changes to qualification fields.
- Pipeline readiness updates.
The more focused your alerts are, the better they work. Lead Alert Automation helps your team see the right signals at the right time, so they can follow up sooner and spend more time talking to leads that are ready to move forward.
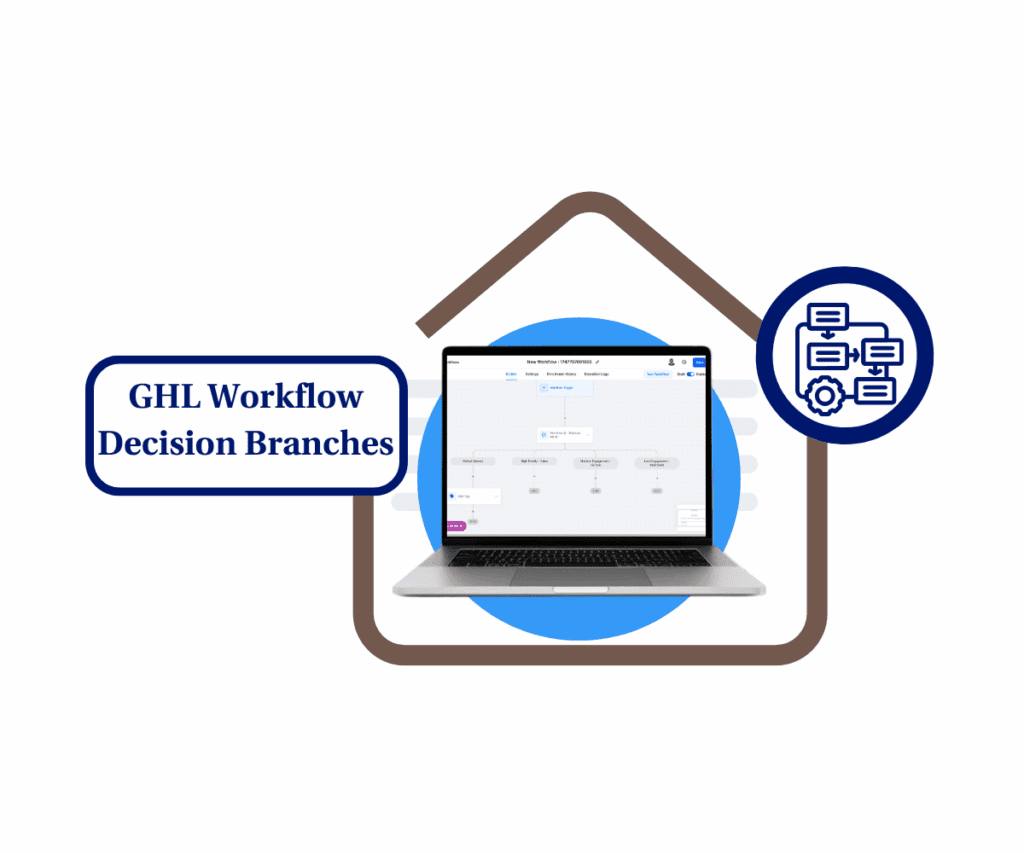
How to Set Up Lead Alert Automation
Lead Alert Automation uses a workflow in GoHighLevel to watch for changes made to a contact. When a selected change happens, your sales team gets an alert right away.
In this guide, you will create a workflow, choose the contact changes you want to track, and set up notifications for your team. Here are the steps to build Lead Alert Automation in GoHighLevel.
- Access the Workflow Builder from the Automation Section.
- Set the Contact Changed Trigger After Renaming Your Workflow.
- Rename the Contact Changed Trigger and Add a Filter.
- Set Your Contact Change Filter Before Saving the Trigger.
- Search for and Add the Send Internal Notification Action.
- Configure the Send Internal Notification Settings Before Saving.
- Search for and Add Another Send Internal Notification Action.
- Configure the Send Internal Notification Email Settings Before Saving.
- Add the Email Subject and Message.
- Publish and Save Your Workflow.
To start, make sure you are logged in to your GoHighLevel sub-account.
Step 01 – Access the Workflow Builder from the Automation Section
- Create the Lead Alert Automation workflow using the Workflow Builder in the Automation section.
1.1 Click Automation.
- You will be taken to the Workflows tab by default.
1.2 Click Workflows.
- You will see a list of workflows, along with options such as Create Folder, Build Using AI, and + Create Workflow.
1.3 Click + Create Workflow.
- A dropdown menu will appear with several options, including + Start from Scratch.
1.4 Click + Start from Scratch.
- You will be taken to the Workflow Builder.

Step 02 – Set the Contact Changed Trigger After Renaming Your Workflow
- Rename your workflow, then set the Contact Changed trigger.
2.1 Rename your workflow.
- Click the Pencil icon at the top of the Workflow Builder and enter a new name for your workflow.
2.2 Click the Add New Trigger button.
- The trigger library will appear, where you can search for and select a trigger.
2.3 Search for and select Contact Changed.
- You will be taken to the trigger settings page.

Step 03 – Rename the Contact Changed Trigger and Add a Filter
- Give the Contact Changed trigger a clear name, then add a filter.
3.1 Rename the Contact Changed trigger.
- This makes it easier to identify on the workflow canvas.
3.2 Click the Add Filters button.
- A set of dropdown filters will appear below the Add Filters button.

Step 04 – Set Your Contact Change Filter Before Saving the Trigger
- Set the contact change filter you want to use before saving the trigger.
4.1 Set the first filter to Tags.
- Tags are used as an example of a contact change. You can use any custom field that helps identify a lead’s buying intent.
- Another dropdown filter will appear.
4.2 Select Added for the second filter.
- This option may vary based on the first filter you selected.
- Another dropdown filter will appear below the second filter.
4.3 Select the tag that will signal buying intent in this workflow.
4.4 Click the Save Trigger button.
- The Contact Changed trigger will now appear on the Lead Alert Automation workflow canvas.

Step 05 – Search for and Add the Send Internal Notification Action
- Click the Add New Element button, then search for and select the Send Internal Notification action.
5.1 Click Add New Element.
- The action library will appear on the right side of the canvas.
5.2 Search for and select the Send Internal Notification action.
- You will be taken to the Send Internal Notification settings.

Step 06 – Configure the Send Internal Notification Settings Before Saving
- Set the Action Name, Notification Type, Title, Notification Message, Redirect Page, and User Type before saving this action.
6.1 Rename the Send Internal Notification action.
- Use a clear and simple name.
6.2 Set Notification as the Notification Type.
- The Notification Settings and input fields will appear below the Notification Type dropdown.
6.3 Enter the Notification Title.
- Keep the title short and clear.
6.4 Enter the Notification Message.
- Keep the message short and polite.
6.5 Select Contact as the Redirect Page.
- This option is used as an example.
6.6 Set the User Type to All Users.
- This option is used as an example.
6.7 Click the Save Action button.
- The Send Internal Notification action will now appear on the Lead Alert Automation workflow canvas.

Step 07 – Search for and Add Another Send Internal Notification Action
- Click the Add New Element button, then search for and select the Send Internal Notification action.
7.1 Click Add New Element.
- The action library will appear on the right side of the canvas.
7.2 Search for and select the Send Internal Notification action.
- You will be taken to the Send Internal Notification settings.

Step 08 – Configure the Send Internal Notification Email Settings Before Saving
- Set the Action Name, Notification Type, Sender Details, Email Subject, and User Type before saving this action.
8.1 Rename the Send Internal Notification action.
- Use a clear and simple name.
8.2 Set Email as the Notification Type.
- The Email Settings and input fields will appear below the Notification Type dropdown.
8.3 Enter the sender name.
- You can also use a custom value for the sender name.
8.4 Enter the sender email address.
- You can also use a custom value for the sender email address.
8.5 Set the User Type to All Users.
- This option is used as an example.

Step 09 – Add the Email Subject and Message
- Enter your email subject and message.
9.1 Enter the email subject.
- Keep the subject short and clear.
9.2 Enter the email message.
- Keep the message short and polite.
9.3 Click the Save Action button.
- The Send Internal Notification action will now appear on the Lead Alert Automation workflow canvas.

Step 10– Publish and Save Your Workflow
- Turn on Publish and save your workflow.
10.1 Turn on the Publish toggle.
- The toggle will turn blue to show that it is active.
10.2 Click Save.
- The red dot on the Save button will disappear, confirming that your workflow has been saved.

Lead Alert Automation Tips
Lead Alert Automation works best when you track only the changes that matter. If your team gets too many alerts, they may stop paying attention to them.
Focus on updates that show a lead may be ready for the next step.
Good examples include:
- A Hot Lead tag is added.
- A lead score goes up.
- A budget field is updated.
- A service field is changed.
- A lead moves to a new stage.
Your alerts should be easy to read. Your team should know who the lead is and why the alert was sent.
To improve your results:
- Add the contact name to the alert.
- Include key lead details.
- Send alerts to the right users.
- Test the workflow before you use it.
Avoid these common mistakes:
- Tracking every contact change.
- Sending too many alerts.
- Skipping trigger filters.
- Using unclear alert messages.
Keep your setup simple. When Lead Alert Automation focuses on real buying signals, your team can spot hot leads faster and follow up at the right time.
Business Benefits of Lead Alerts
A lead can show strong interest at any time. If your team does not see that change, they may miss the chance to follow up while the lead is still engaged.
Lead Alert Automation helps you stay aware of important lead activity. When a contact record changes, your team can get an alert and take action sooner.
Some common ways to use Lead Alert Automation include:
- Alerting sales staff when a Hot Lead tag is added.
- Notifying a team member when lead details change.
- Letting appointment setters know when a lead is ready for a call.
- Tracking lead score updates.
- Monitoring key custom field changes.
The main benefit is simple. Your team spends less time checking records and more time talking to leads.
This can help you:
- Follow up faster.
- Spot hot leads sooner.
- Keep leads moving through your process.
- Stay on top of lead activity.
- Improve team communication.
Small changes can lead to better results. When your team knows about key lead updates right away, they can reach out at the right time and keep the conversation moving forward.
Lead Alert Automation FAQs
Lead Alert Automation is simple to set up, but you may still have questions about how it works. Below are some common questions users ask when creating alerts based on contact changes in GoHighLevel.
Start Using Lead Alert Automation
Lead Alert Automation helps your team see important lead changes as they happen. Instead of checking contact records all day, you can let GoHighLevel send alerts when key updates take place.
In this guide, you learned how to build a workflow, track contact changes, and send alerts to your team. You also learned how to use the Contact Changed trigger to watch for updates that may need fast follow-up.
Key points to remember:
- Track the contact changes that matter most.
- Use trigger filters to keep alerts useful.
- Send alerts to the right team members.
- Test your workflow before using it live.
- Keep your setup simple.
The goal is simple. Help your team know when a lead needs attention.
Start with one trigger and test it. Once it works well, you can add more alerts as your needs grow.
Have you tried Lead Alert Automation yet? Which contact change would be most useful for your team to track?
Scale Your Business Today.
Streamline your workflow with GoHighLevel’s powerful tools.