- Give shoppers a cleaner checkout flow while capturing contact and shipping details before payment.
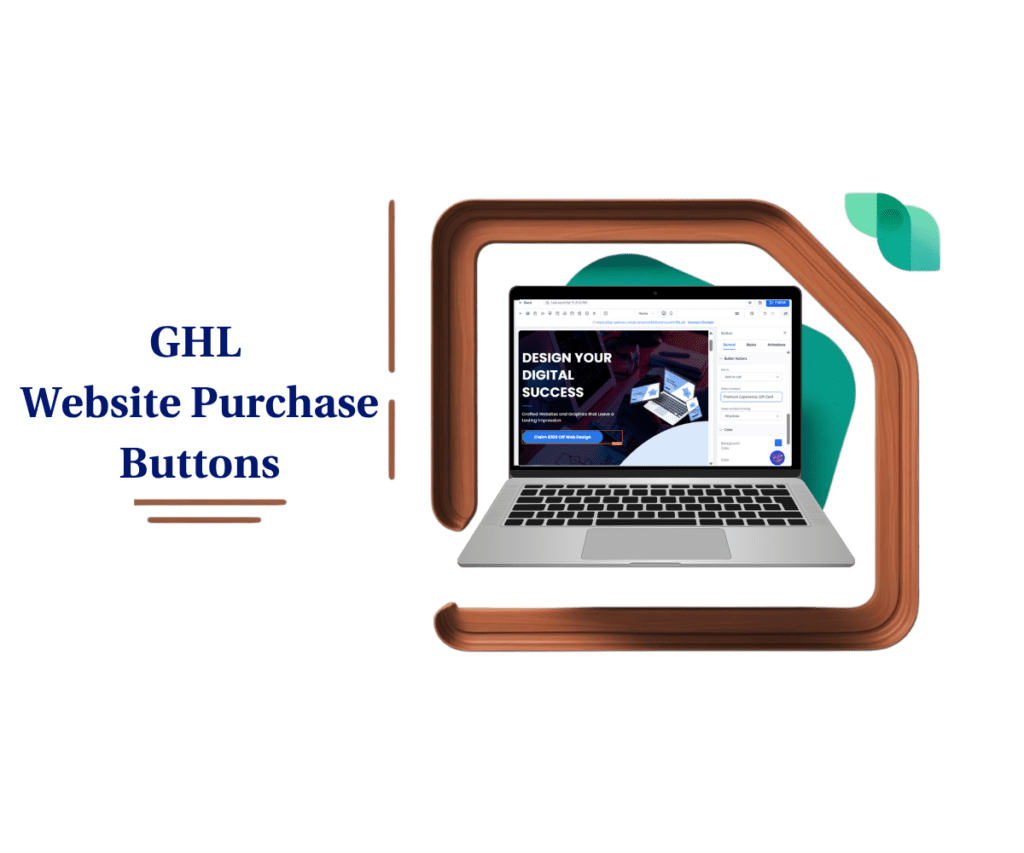
- Quick Summary – Two Step Checkout Essentials
- What’s New With Two Step Checkout
- Why Two Step Checkout Matters
- How to Use Two Step Checkout
- Pro Tips for Two Step Checkout
- What Two Step Checkout Means for Your Business
- Frequently Asked Questions About Two Step Checkout
- Two Step Checkout Gives You More Control
Give shoppers a cleaner checkout flow while capturing contact and shipping details before payment.
Two Step Checkout Keeps Checkout Simple
Two Step Checkout gives GoHighLevel store owners a cleaner way to collect customer details before asking for payment.
Instead of putting every checkout field on one screen, GHL now lets you choose between One Step Checkout and Two Step Checkout inside the Checkout element. Customers enter their name, email, phone number, and shipping details first. Then they move to billing, payment, order review, and placing the order.
It’s a simple update, but a useful one. You can capture contact and shipping details earlier, keep the checkout page easier to follow, and give shoppers a smoother path to finish their order.

Two Step Checkout gives GHL store owners a cleaner way to collect customer details before payment. It helps capture contact and shipping information earlier, while giving shoppers a simple step by step checkout flow.
Quick Summary – Two Step Checkout Essentials
Purpose: This update gives GoHighLevel store owners a simple way to choose between One Step Checkout and Two Step Checkout on store checkout pages.
Why It Matters: Two Step Checkout helps keep the buying process cleaner by collecting contact and shipping details before billing and payment.
What You Get: You get more control over the checkout layout inside the Checkout element without rebuilding the full store.
Time To Complete: Most users can set this up in about 5 to 10 minutes once they know where the Checkout Layout setting is located.
Difficulty Level: This is beginner-friendly. You only need to open the Store Builder, select the Checkout element, and update the checkout layout.
Key Outcome: Store owners can create a smoother checkout flow that feels easier for shoppers and works better for products that need shipping details.
What’s New With Two Step Checkout
GoHighLevel now gives store owners a new Checkout Type setting inside the Checkout element. You can find it in the Form Options area when editing a checkout page in the Builder.
There are now two checkout choices. One Step Checkout keeps the full checkout process on one screen. Two Step Checkout splits the process into two parts, which can make the page feel cleaner for customers.
Automate marketing, manage leads, and grow faster with GoHighLevel.

In Step 1, customers enter their first name, last name, email, phone number, and shipping details. In Step 2, they add billing details, review the order, enter payment, and place the order.
One Step Checkout is still the default option. That means your existing checkout pages will keep working the same way unless you choose to change them. No surprise changes. No broken checkout pages. Just a new option when you want more control.
Why Two Step Checkout Matters
Two Step Checkout matters because a crowded checkout page can slow people down. When buyers feel unsure, they may leave before they place the order. This update gives them a cleaner path to follow.
With Two Step Checkout, the customer enters contact and shipping details first. Then they move to billing, payment, and order review. It feels more organized, and it helps store owners collect key details earlier in the process.
For agencies, this is a useful option when building ecommerce stores for clients. Use One Step Checkout for quick, simple offers. Use Two Step Checkout when the store needs shipping details, a cleaner layout, and a more guided checkout flow.
How to Use Two Step Checkout
Two Step Checkout is controlled inside the Checkout element on your store checkout page. You do not need to rebuild the full store. You only need to open the right store page, edit the Checkout page, select the Checkout element, and choose the checkout layout.
For this How-To, we’ll walk through how to find your store, open the checkout page, and switch the checkout layout to Two Step Checkout inside the Builder.
Here are the steps we will follow:
- Access the Stores area in GHL Sites.
- Open the store action menu.
- Edit the Checkout page.
- Select the Checkout Element.
- Choose the Two Step Checkout Layout.
- Save and Publish the Checkout Page.
To start, make sure you are logged in to your GoHighLevel sub-account.
Step 01 – Access the Stores Area in GHL Sites
- The main menu on the left side of your screen has the core areas you work in when using GoHighLevel.
1.1 Click Sites in the left menu.
- This opens the Sites section.
1.2 Click Stores from the top Sites navigation.
- This opens the Stores area where you can see your ecommerce stores.
1.3 Review the list of available stores.
- You will see each store listed with its name, last updated date, and number of store pages.

Step 02 – Open the Store Action Menu
- This is where you choose the store you want to update.
2.1 Find the store you want to edit.
- For example, you may choose a store from the list shown in the Stores area.
2.2 Click the three-dot action menu on the right side of that store row.
- This opens the store action menu.
2.3 Click Edit.
- This opens the selected store so you can manage its store pages.

Step 03 – Edit the Checkout Page
- This is where you open the checkout page that controls the customer checkout flow.
3.1 Find the Checkout page card.
- You should see the Checkout page listed with the other store pages, such as Product List, Product Details, Cart, and Thank You.
3.2 Click the small dropdown arrow beside the Edit button on the Checkout page card.
- This opens the page options menu.
3.3 Click Edit in a new tab.
- This opens the Checkout page inside the Builder.

Step 04 – Select the Checkout Element
- This is where you select the actual checkout block on the page.
4.1 Wait for the Builder to load.
- Once loaded, you will see the Checkout page with the checkout form and cart summary.
4.2 Click directly on the Checkout element.
- The selected Checkout element will be outlined on the page.
4.3 Look at the settings panel on the right side.
- You should now see the Checkout element settings.

Step 05 – Choose the Two Step Checkout Layout
- This is where you change the checkout flow.
5.1 In the right settings panel, stay on the General tab.
- This is where the main Checkout element settings are shown.
5.2 Open the Form Options section.
- This area controls the checkout form setup.
5.3 Find the Checkout Layout setting.
- You should see two layout choices:
- One step form
- Two step form
5.4 Select Two step form.
- This changes the checkout page so customer details and shipping appear before payment.
5.5 Review the checkout preview on the left.
- You should now see the checkout split into Contact & shipping and Payment.

Step 06 – Save and Publish the Checkout Page
- This is the final step before the updated checkout flow goes live.
6.1 Review the checkout fields on the page.
- Check the email, full name, phone number, shipping address, billing address, and order notes options.
6.2 Review any extra checkout settings in the right panel.
- This may include full name validation, billing address, shipping display, address settings, phone number rules, and other checkout options.
6.3 Click Save if needed.
- This keeps your layout changes.
6.4 Click Publish in the top right corner.
- This publishes the updated checkout page.
- Once published, your store checkout page will use the Two Step Checkout layout. Customers will enter contact and shipping details first, then move to payment and order review.

Pro Tips for Two Step Checkout
Two Step Checkout works best when the checkout page needs a little more structure. If your store sells physical products, this layout can help because shipping details are collected before payment. That keeps the process clear for the customer.
Use One Step Checkout for simple offers that do not need much buyer information. Use Two Step Checkout when the order needs shipping details, billing details, or a cleaner review step before payment. Don’t overthink it. Match the checkout layout to the buying process.
Before you publish, test the full checkout on desktop and mobile. Make sure the Contact & shipping step is easy to complete, then check that the Payment step loads properly. A checkout page can look fine in the Builder, but the real test is how it feels for the shopper.
What Two Step Checkout Means for Your Business
Two Step Checkout gives store owners more control over how customers move through the buying process. That matters because checkout is not just a form. It is the final step before someone becomes a customer.
For agencies, this gives you another simple way to improve client stores inside GHL. You can set up a cleaner checkout for physical products, test it against One Step Checkout, and choose the layout that fits each offer best.
The biggest win is flexibility. A simple digital offer may work fine with One Step Checkout. A product that needs shipping, billing, and order review may work better with Two Step Checkout. Use the layout that makes the buying process feel clear, not crowded.
Frequently Asked Questions About Two Step Checkout
Two Step Checkout Gives You More Control
Two Step Checkout is a small update, but it gives GHL store owners a better way to shape the checkout experience. Instead of forcing every customer through one long checkout screen, you can now split the process into two clear steps.
This is helpful for stores that need contact details, shipping details, billing, payment, and order review to feel more organized. It also gives agencies a simple way to choose the right checkout flow for each client store.
Start by testing Two Step Checkout on one checkout page. Check it on desktop and mobile, run through the full order flow, and see how it feels. Have you tried the new Two Step Checkout layout in your GoHighLevel store yet?
Scale Your Business Today.
Streamline your workflow with GoHighLevel’s powerful tools.