No More Guesswork: Mastering Your Visuals with Enhanced Image Sizing Controls
Ever stared at a blank page in GoHighLevel, trying to make a picture fit just right, and felt stuck with the image sizing controls? We’ve all been there, wanting that main picture (your “hero image”) to look perfect, or all your gallery photos to line up neatly. In the fast world of online business, every tiny part of your page matters. Making things exact is super important. You build awesome sales pages and cool websites, and dealing with pictures that don’t look right just wastes your time and energy. Good news! That annoying guessing game is now over.
GoHighLevel just gave us a big, new update to help you control your pictures easily. They’ve made the “Height” and “Width” settings for your pictures and photo albums much, much better. This isn’t just a small change. It makes designing easier, stops those annoying picture-size problems, and makes sure your pictures always look clear, professional, and just how you want them. Get ready to build things perfectly and easily. Your sales pages and websites will always look great on any screen!
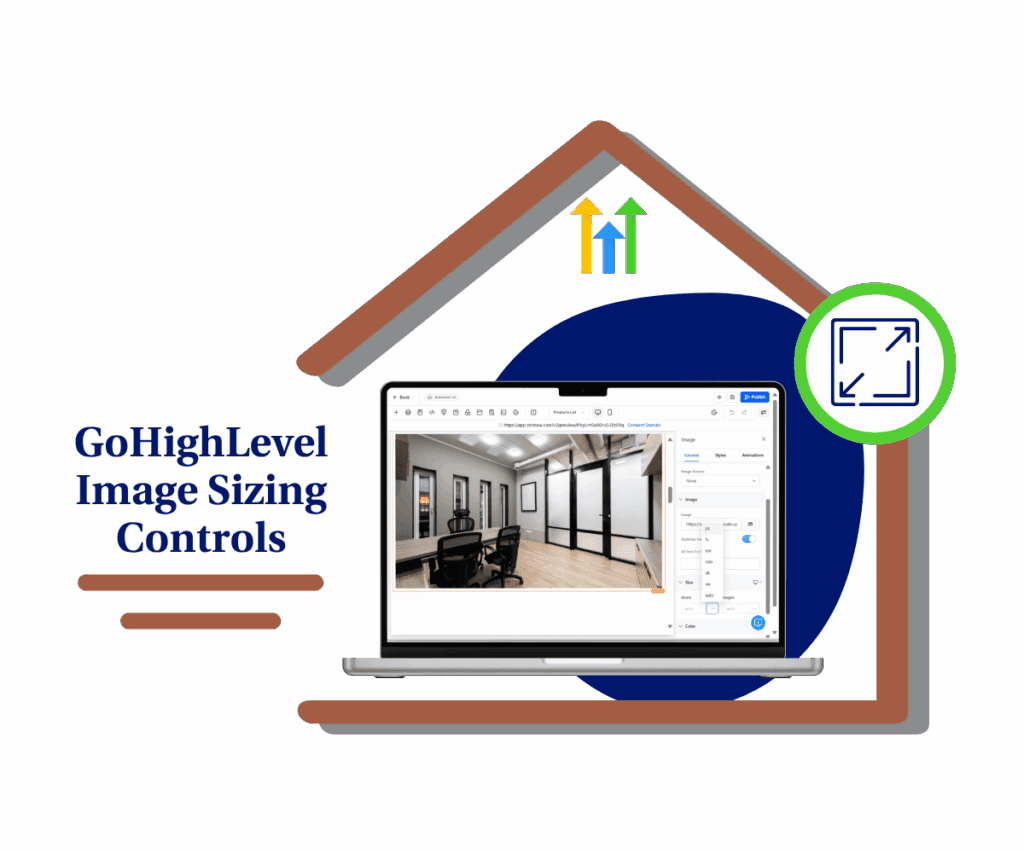
These new updates help you make beautiful designs that work on any screen, super easily and perfectly. This makes your funnels and websites always look neat and professional on any device.
Understanding the Upgrade: What’s New in GoHighLevel’s Sizing Controls?
GoHighLevel heard you! They’ve supercharged how you interact with image and gallery components, making sizing smarter, safer, and supremely consistent.
- Smarter Auto-Sizing: True Freedom for Your Visuals Guessing dimensions is gone. “Auto” support lets elements gracefully size themselves. A one-click toggle switches between “auto” and fixed sizing (pixels, percentages). Inputs clearly show “auto” status.
- Better Defaults & Safer Inputs: Building with Confidence No more empty fields! Switching to a fixed unit auto-populates with “100.” Empty values are blocked, preventing broken layouts. Older components intelligently adapt when edited.
- Cleaner, More Consistent Controls: Streamlined Design Workflow The input displays “auto” when active. Unit dropdowns appear only when needed, reducing clutter. Both “Width” and “Height” controls now behave with the same logic, streamlining your workflow.
Why This Matters for Your Business
Automate marketing, manage leads, and grow faster with GoHighLevel.

These enhanced image sizing controls directly impact your bottom line:
- Stop Guessing: Eliminate unpredictable sizing and achieve your desired look, faster.
- Faster Workflow: Quickly switch and confidently adjust dimensions.
- Professional Polish: Your visuals will look sleeker and more professional.
- Responsive Layouts: Ensure designs look stunning and function flawlessly across all screen sizes.
- Reliable Results: Say goodbye to broken images; your content will perform as intended.
How to Implement GoHighLevel’s New Image Sizing Controls
Let’s show you how to use these powerful new image sizing controls. This update impacts visuals in the Sites section, specifically within the Funnels or Website builders, applying to the Image element and Photo Video Gallery component.
The intuitive design of these new controls means no more guessing. You’ll find clear “Auto” options, smart default values, and consistent behavior. Whether it’s a single image or a full gallery, the process is streamlined.
Ready to make your designs pop? Follow these steps:
Step 01 – Access the Main Left Hand Menu in GoHighLevel
- The Main Menu on the Left side of your screen has all the main areas that you work in when using GHL
1.1 Click on the Sites Menu Item.
- Access the ‘Sites’ section of GoHighLevel
- You’ll now be in the ‘Sites’ section of GHL, where you can access the Websites section from the top menu:
1.2 Click on the ‘Websites’ menu link.

Step 02: Access Your Page Builder
- Inside the ‘Website’ section, select the specific website you want to edit;
2.1 Click the ‘Name of Website’ you wish to edit
- this will open the website pages available on the website;

2.2 Click the ‘Edit Page’ button to open the builder of the page.

Step 03: Locate Your Image
- Now that you’re in the page builder, you can either add a new visual element or select an existing one.
- To add a new component:
3.1 Drag and drop an “Image” element from the left sidebar’s element menu onto your page.
- To edit an existing component:
3.2 Click directly on the Image on your page to select it.

Step 04: Access Sizing Controls in the Properties Panel
- With your chosen picture or image selected, the right-hand properties panel will update with its specific settings.
- Look to the right-hand properties panel.
- Under the “Properties” tab, scroll down until you clearly see the “Height” and “Width” settings.
- For effortless, automatic sizing, locate the “Height” or “Width” input field.
4.1 Click on the arrow to see a clear “Auto” label within the input or a dedicated toggle to select “Auto”
- Clicking this “Auto” toggle or ensuring “Auto” is selected will allow the element to size itself dynamically based on its content and container, requiring no manual input from you.
- When you switch from “Auto” to a fixed unit (like “px” for pixels or “%” for percentage), the input field will automatically populate with “100” as a smart default. This prevents empty fields and provides a good starting point.
- Enter your desired numerical value into the field. Note that empty values are no longer allowed, ensuring your layouts remain consistent and unbroken.

Step 05: Save Your Design
- Always save your work and preview your page to ensure everything looks perfect on all devices.
- After adjusting your image sizes,
5.1 Click the “Save” button at the top right of the builder.
- Always use the “Preview” button (usually found near the “Save” button) to see how your changes look on different screen sizes and devices to ensure a polished, professional appearance.

Practical Application: Real-World Scenarios for Flawless Visuals
So, how do these new image sizing controls actually help you in your everyday work? Lots of ways!
- Make Your Big Pictures Look Perfect: Imagine your main picture (we call it a “hero section”) looking exactly right from edge to edge on any phone, tablet, or big computer screen. These new controls make it super easy to get that perfect fit every time.
- Keep All Your Photos Neat and Tidy: If you show off many pictures, like products you sell or photos of your amazing work, you want them all to look the same size and super neat. These image sizing controls help you keep all your photos looking professional and organized, effortlessly.
- Pictures Look Awesome on Phones (Automatically!): Ever worry about how your website looks on a tiny phone screen? Don’t! The clever “Auto” setting for your image sizing controls magically makes your pictures fit perfectly on smaller screens, so you don’t have to do extra work.
Conclusion: Elevate Your Visuals, Elevate Your Business
GoHighLevel’s new image sizing controls are a huge step forward! They give you super easy control and confidence over all your pictures. You get perfect pictures, easy fixes, and consistent, professional looks that will make your websites and funnels stand out. No more guessing, just awesome, perfect-looking designs.
So, stop fighting with your pictures! Go into your GoHighLevel account right now and see how these new image sizing controls change everything for your business.
What’s the first GoHighLevel page or funnel you’re going to make look amazing with these new image sizing controls? Share your plans below!
Scale Your Business Today.
Streamline your workflow with GoHighLevel’s powerful tools.
