- Organize workflow-created notes faster with note titles and visual color tags inside your contact timeline.
- Quick Summary – Contact Note Colors Overview
- What’s New: Contact note colors
- Why This Matters to You: Contact note colors
- How To Use Contact Note Colors in the Add Notes Action
- Pro / Quick Tips: Contact note colors
- What This Means for Your Business (Contact note colors)
- Frequently Asked Questions on Contact Note Colors
- Conclusion: Contact note colors
Organize workflow-created notes faster with note titles and visual color tags inside your contact timeline.
Contact note colors
Contact note colors are one of those small upgrades that quietly fix a big daily headache.
If you’ve ever opened a contact record in GoHighLevel and got hit with a wall of notes that all look the same, you know what I mean. You can’t tell what’s important. You can’t tell what came from a workflow. And you definitely can’t tell what your team should do next without reading every line.
Here’s the good news. The Add Notes workflow action in GHL now supports the newer contact note upgrades: an optional note title and an optional note color. That means your workflows can create cleaner, more readable notes that your team can scan in seconds instead of minutes.
This update is also safe. Your existing workflows keep working exactly as they do today because both the title and the color are optional fields. Nothing breaks. Nothing gets overwritten. And it doesn’t change any of your existing notes.
The team here at GHL Growth Garage likes updates like this because they make automation feel more human. More context. Better organization. Less confusion.

Contact note colors make workflow notes easier to scan, easier to sort, and harder to miss. Add short note titles and consistent colors so your team always knows what happened and what to do next.
Quick Summary – Contact Note Colors Overview
Purpose: This guide shows how to add contact note colors and optional note titles to the Add Notes workflow action so your team can spot key updates faster in the contact record.
Why It Matters: Workflow notes can pile up fast, and when they all look the same, important details get missed. Contact note colors make the timeline easier to scan and easier to manage.
What You Get: You get a clean, repeatable way to label workflow-created notes using short titles and a simple color system that your whole team can follow.
Time To Complete: Most users can update their first workflow in about 5 to 10 minutes, including a quick test.
Difficulty Level: Beginner friendly since it only requires editing a workflow action and publishing the workflow.
Key Outcome: Your workflow notes become easier to read, easier to sort, and more useful for sales, onboarding, and support handoffs.
What’s New: Contact note colors
The Add Notes workflow action has always been useful, but it was a little too plain. Notes created by workflows all looked the same, so when a contact record got busy, important updates were easy to miss.
Now GHL lets workflows create richer notes with two optional upgrades: a note title and contact note colors. The title works like a quick subject line, and the color gives you a simple visual way to sort what you are seeing at a glance.
Automate marketing, manage leads, and grow faster with GoHighLevel.

Nothing breaks if you do not touch your workflows. The new fields are optional, and this update does not change any of your existing notes.
Why This Matters to You: Contact note colors
When you have multiple workflows firing, contact notes can turn into noise fast. Your team opens a contact record and sees a long list of notes that all look the same. That’s when important context gets skipped, and small issues turn into missed follow-ups.
Contact note colors A short title tells your team what the note is about, and the color helps them spot priority items without reading every line. It is a small change, but it makes the contact timeline easier to scan and easier to trust.
For agencies, this also keeps everyone on the same page. Sales, onboarding, and support can all use the same naming and color system, so handoffs feel clean instead of messy.
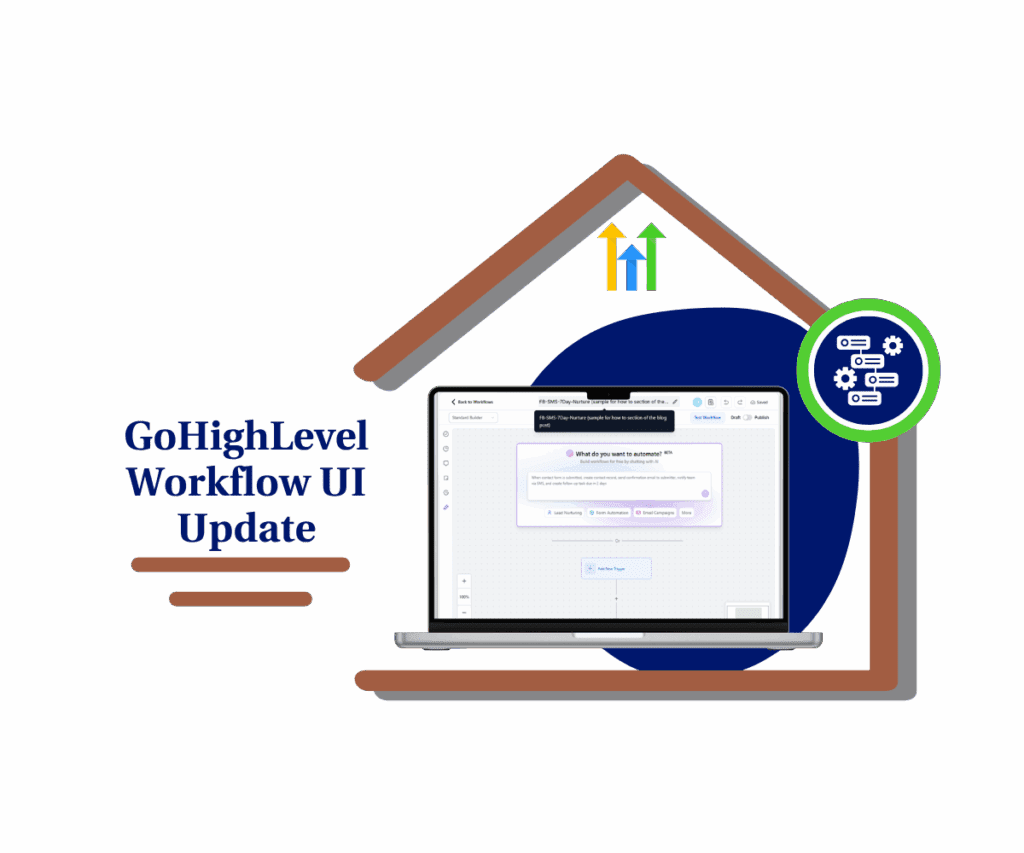
How To Use Contact Note Colors in the Add Notes Action
Contact note colors are set inside the Add Notes workflow action in the workflow builder. You will open the Workflows list, create a new workflow or open an existing one, add the Add Notes action, enter an optional title, choose a color, and save it. After that, the note shows on the contact record with the title and color you selected.
Here are the steps to set up contact note colors for workflow notes in GoHighLevel.
- Open the Workflows list.
- Create a new workflow or open an existing one.
- Open the Add Action menu inside the workflow builder.
- Search for and select the Add Notes action.
- Add the title, contact note colors, and Save Action.
- Publish the workflow.
To start make sure you are logged in to your GoHighLevel sub-account.
Step 01 – Open the Workflows list
- The Main Menu on the left side of your screen has all the main areas that you work in when using GHL.
1.1 Click Automation in the left-hand menu.
- This opens the Automation section.
1.2 Click Workflows.
- This opens the Workflow List.

Step 02 – Create a new workflow or open an existing one
2.1 Click Create Workflow button.
- This opens the workflow creation options.
2.2 Choose Start from Scratch (or select your preferred workflow type).
- This creates a new workflow in Draft mode.
2.3 If you already have a workflow you want to update, click the workflow name from the list instead.
- This opens the workflow builder for that workflow.

Step 03 – Open the Add Action menu inside the workflow builder
3.1 In the workflow builder, find the spot where you want to Add Notes action.
3.2 Click the + Add button.
3.3 Click Add Action.
- This opens the Actions panel.

Step 04 – Search for and select the Add Notes action
4.1 In the Actions panel search bar, type notes.
- This filters the actions list.
4.2 Under Contact actions, click Add To Notes.
- This opens the Add Notes action settings.

Step 05 – Add the title, contact note colors , and Save Action
5.1 In the Title field, enter a short note title.
- This is optional, but it makes notes easier to scan.
5.2 In the Note field, type the note content you want saved to the contact record.
- This is the message your team will see in the contact timeline.
5.3 In the Color section, choose the color you want.
- This applies contact note colors to the workflow-created note.
5.4 Click Save Action button.
- This adds the Add Notes step into your workflow.

Step 06 – Publish the workflow
6.1 Toggle Publish on.
- This makes the workflow live.
6.2 Run a quick test with a contact.
- Confirm the note shows the title and color in the contact record.

Pro / Quick Tips: Contact note colors
Contact note colors only help if your team uses them the same way every time. If everyone picks random colors, you end up with a rainbow that means nothing. Keep it simple, and make it a rule.
Use a small color system your whole team can remember. Two to four colors is usually enough.
Example:
- Red = urgent or needs follow-up
- Blue = sales activity
- Green = completed milestone
- Yellow = waiting on the contact
Keep titles short and consistent. Your title is not the note. It’s the label that helps someone scan fast.
- Good patterns are:
- Two to four words max
- Start with an action word
- Use the same words across workflows like Booked, Sent, Completed, Missed, Replied
One more tip. Do not use the Add Notes action for everything. Use it for milestones that matter. If every workflow step creates a note, you will bury the important ones again.
What This Means for Your Business (Contact note colors)
If you manage leads at any real volume, speed matters. Your team needs to open a contact record and understand what happened in seconds. Contact note colors help you do that, because the timeline stops looking like one long pile of text.
This makes internal handoffs cleaner. Sales can leave a clear “Quote Sent” note in one color. Onboarding can mark “Intake Complete” in another. Support can tag “Issue Reported” with a color your team treats as priority. When everyone follows the same system, you get fewer missed follow-ups and fewer “wait, what happened here?” moments.
It also helps you run a tighter operation across clients. When your workflows create notes with the same titles and contact note colors every time, you can review accounts faster, train new team members quicker, and keep client communication more consistent without adding more meetings.
Frequently Asked Questions on Contact Note Colors
Conclusion: Contact note colors
Contact note colors make the Add Notes action in GoHighLevel a lot more useful for real teams. You can add an optional title, pick a simple color, and your workflow notes stop blending into the background. That means faster scanning, cleaner handoffs, and fewer missed follow-ups.
If you want the quickest win, start with one or two workflows that create the most notes. Add short titles, pick consistent colors, and test it on a real contact. Once your team likes the system, roll it out across the rest of your workflows.
Have you picked a color system yet for your team? If yes, what do the colors mean in your world?
Scale Your Business Today.
Streamline your workflow with GoHighLevel’s powerful tools.